The Problem
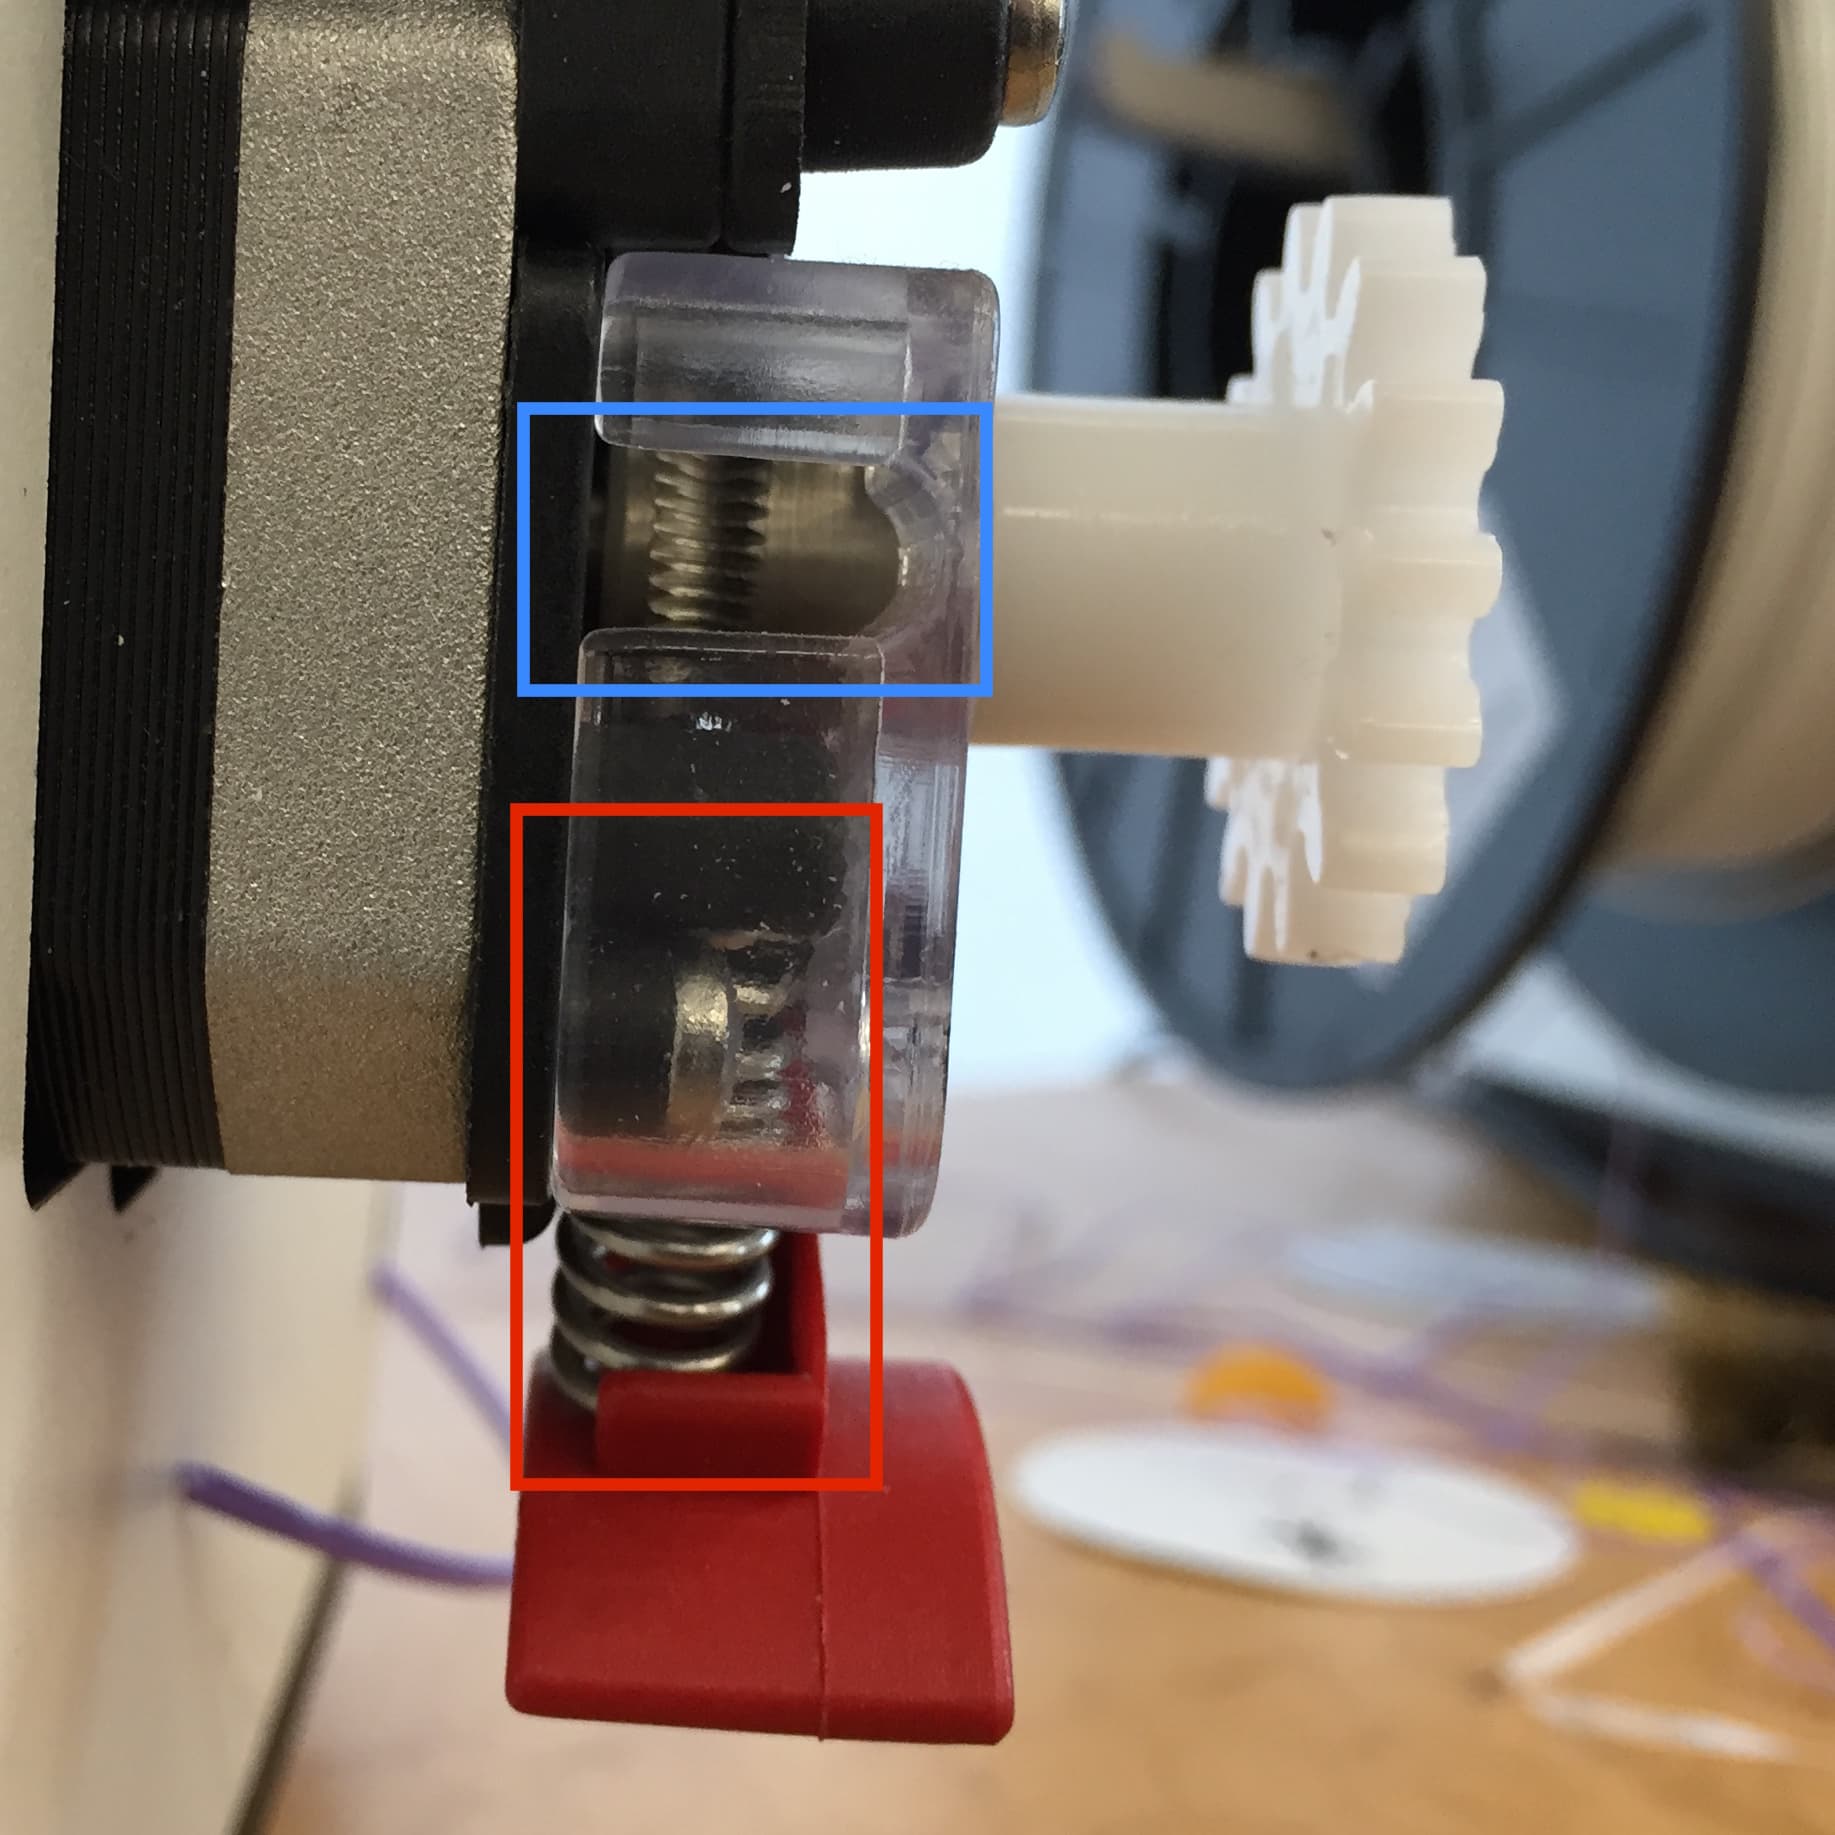
The Orion Delta extruder drive assembly relies on a single drive gear which moves the filament to the extruder. The filament is held tight to the driving gear by a wheel that pushes the filament into the drive gear with a spring.
 Click images for higher resolution
Every once in a while, it is too hard for the drive gear to pull the filament from the spool. This can be due to the Orion Delta’s less than favorable feeding system, or to tangles in the spool. Either way, the printer will eventually stop extruding. It will look something like this:
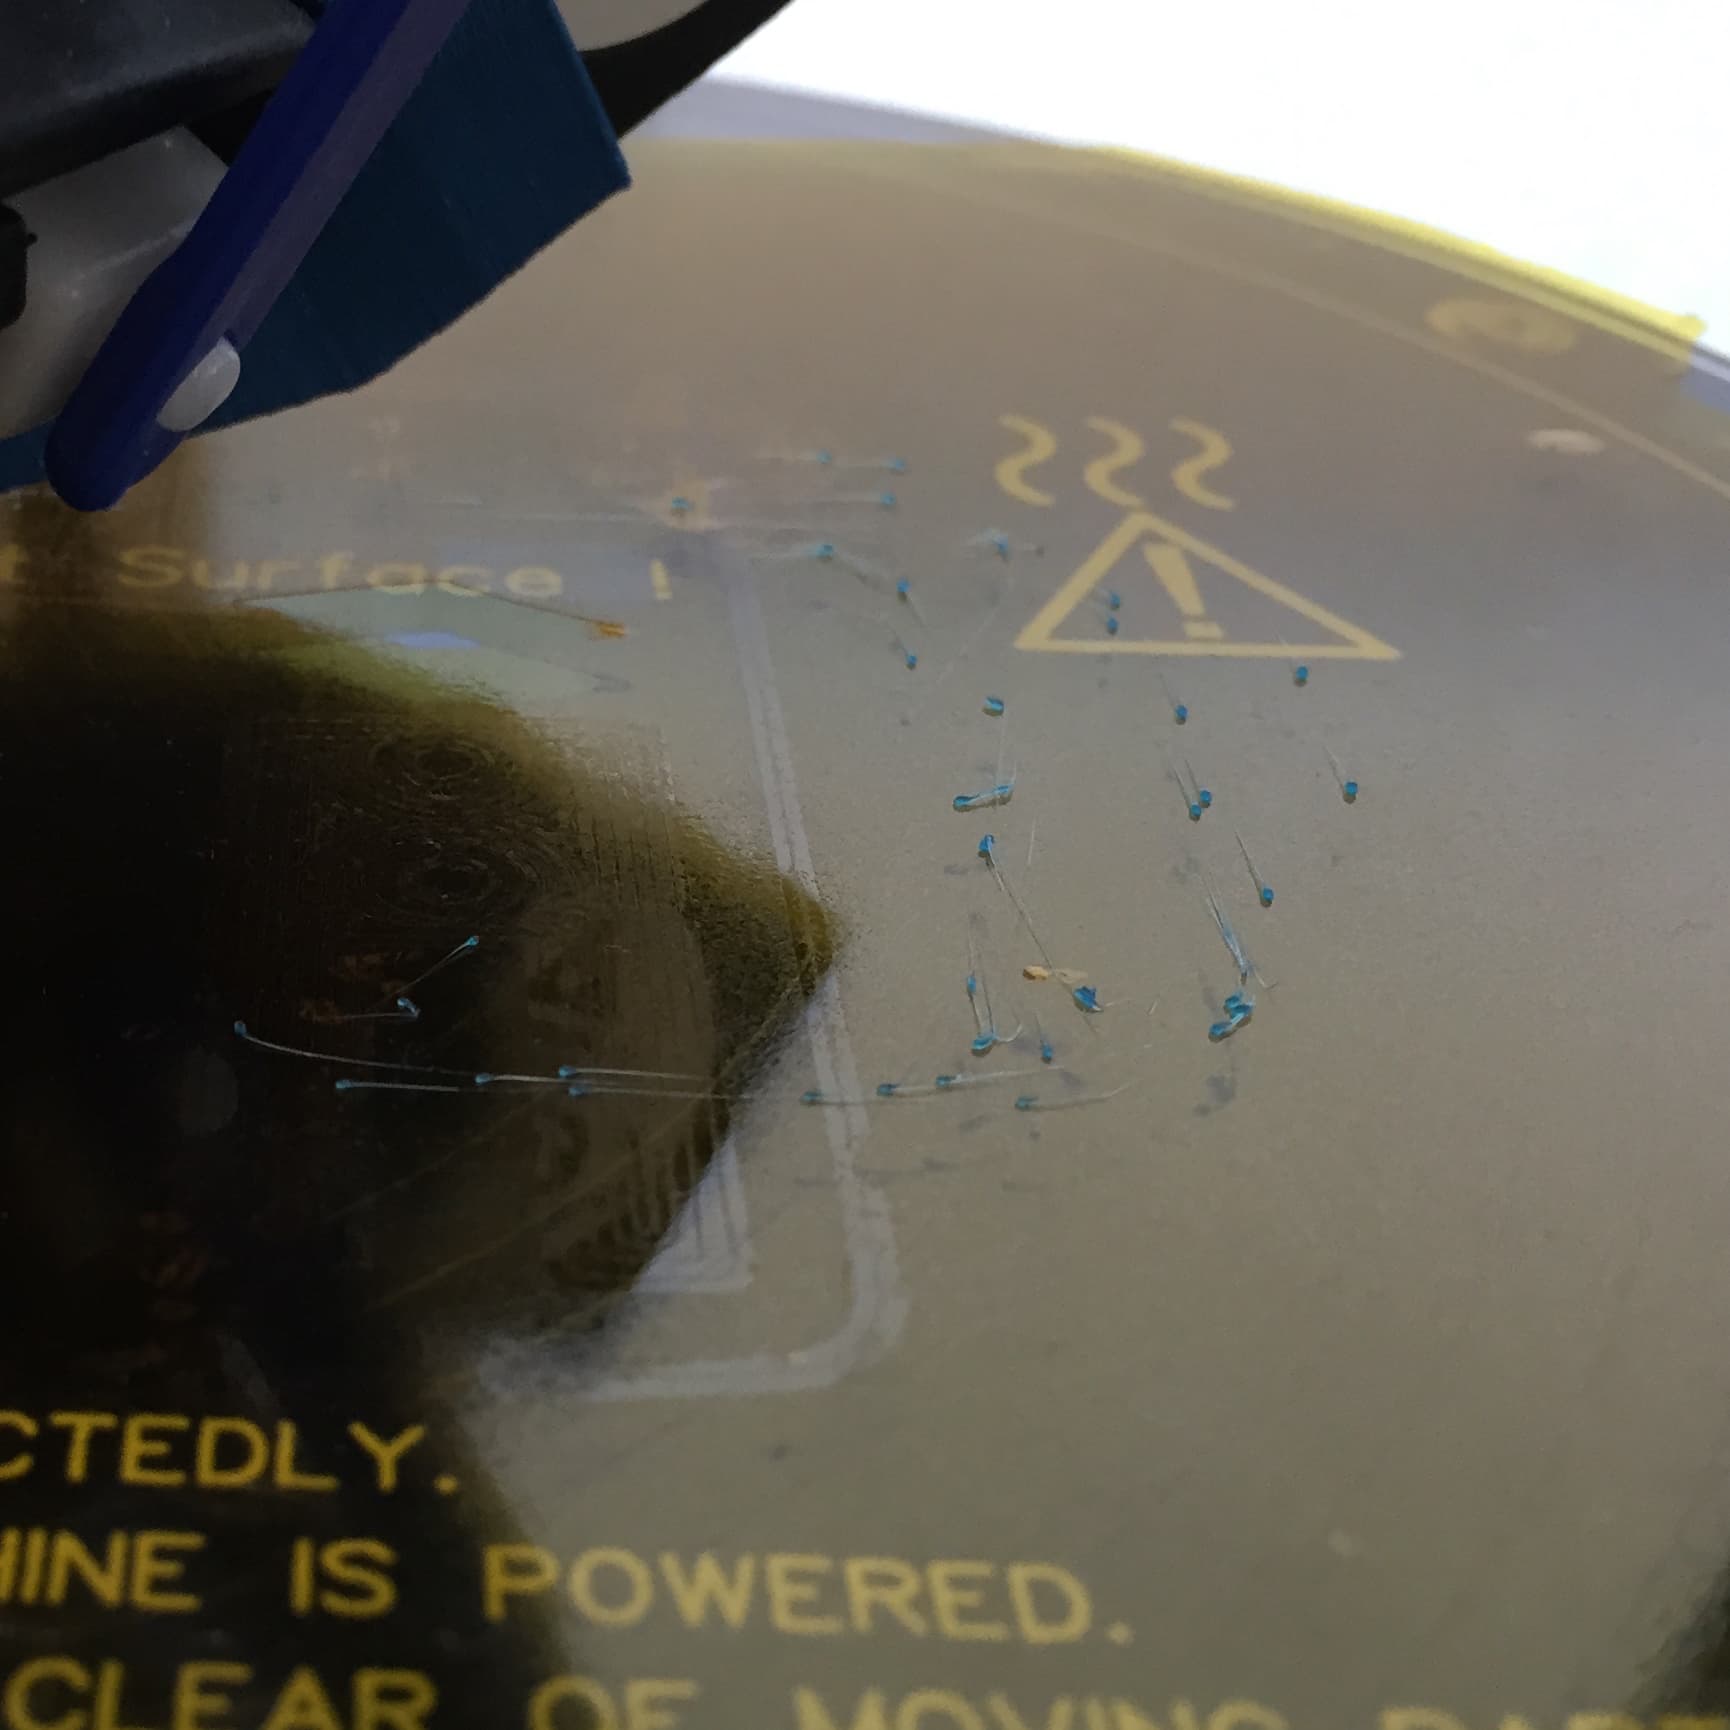
These specks are small amounts of plastic being pushed out, but this is clearly not going to work. This may happen part way through a print, and can usually be seen a few layers after as the extruder will be printing several millimetres above the part.
What’s happened is the drive gear has sort of chipped away at the side of the filament, causing it to become thin and filling the extrusion assembly with bits of plastic. The filament is now too thin for the drive gear and wheel to create a large enough force on it to push it up into the extruder. This will be visible when you take the machine apart.
Quick Fix
If you’re short on time, or part-way through a large part, it may be worth it to perform a quick fix. This can be done by spraying some compressed air at the drive gear, then pulling up the red handle, releasing the pressure from the gear and the filament, and pushing the filament up the extruder manually. This may get things moving, but if the part is already damaged or if the problem persists, you will need a more permanent solution.
The Real Fix
The real way to fix this is quite simple. We’re going to open up the extruder drive assembly. clean out the affected parts, and replace the filament.
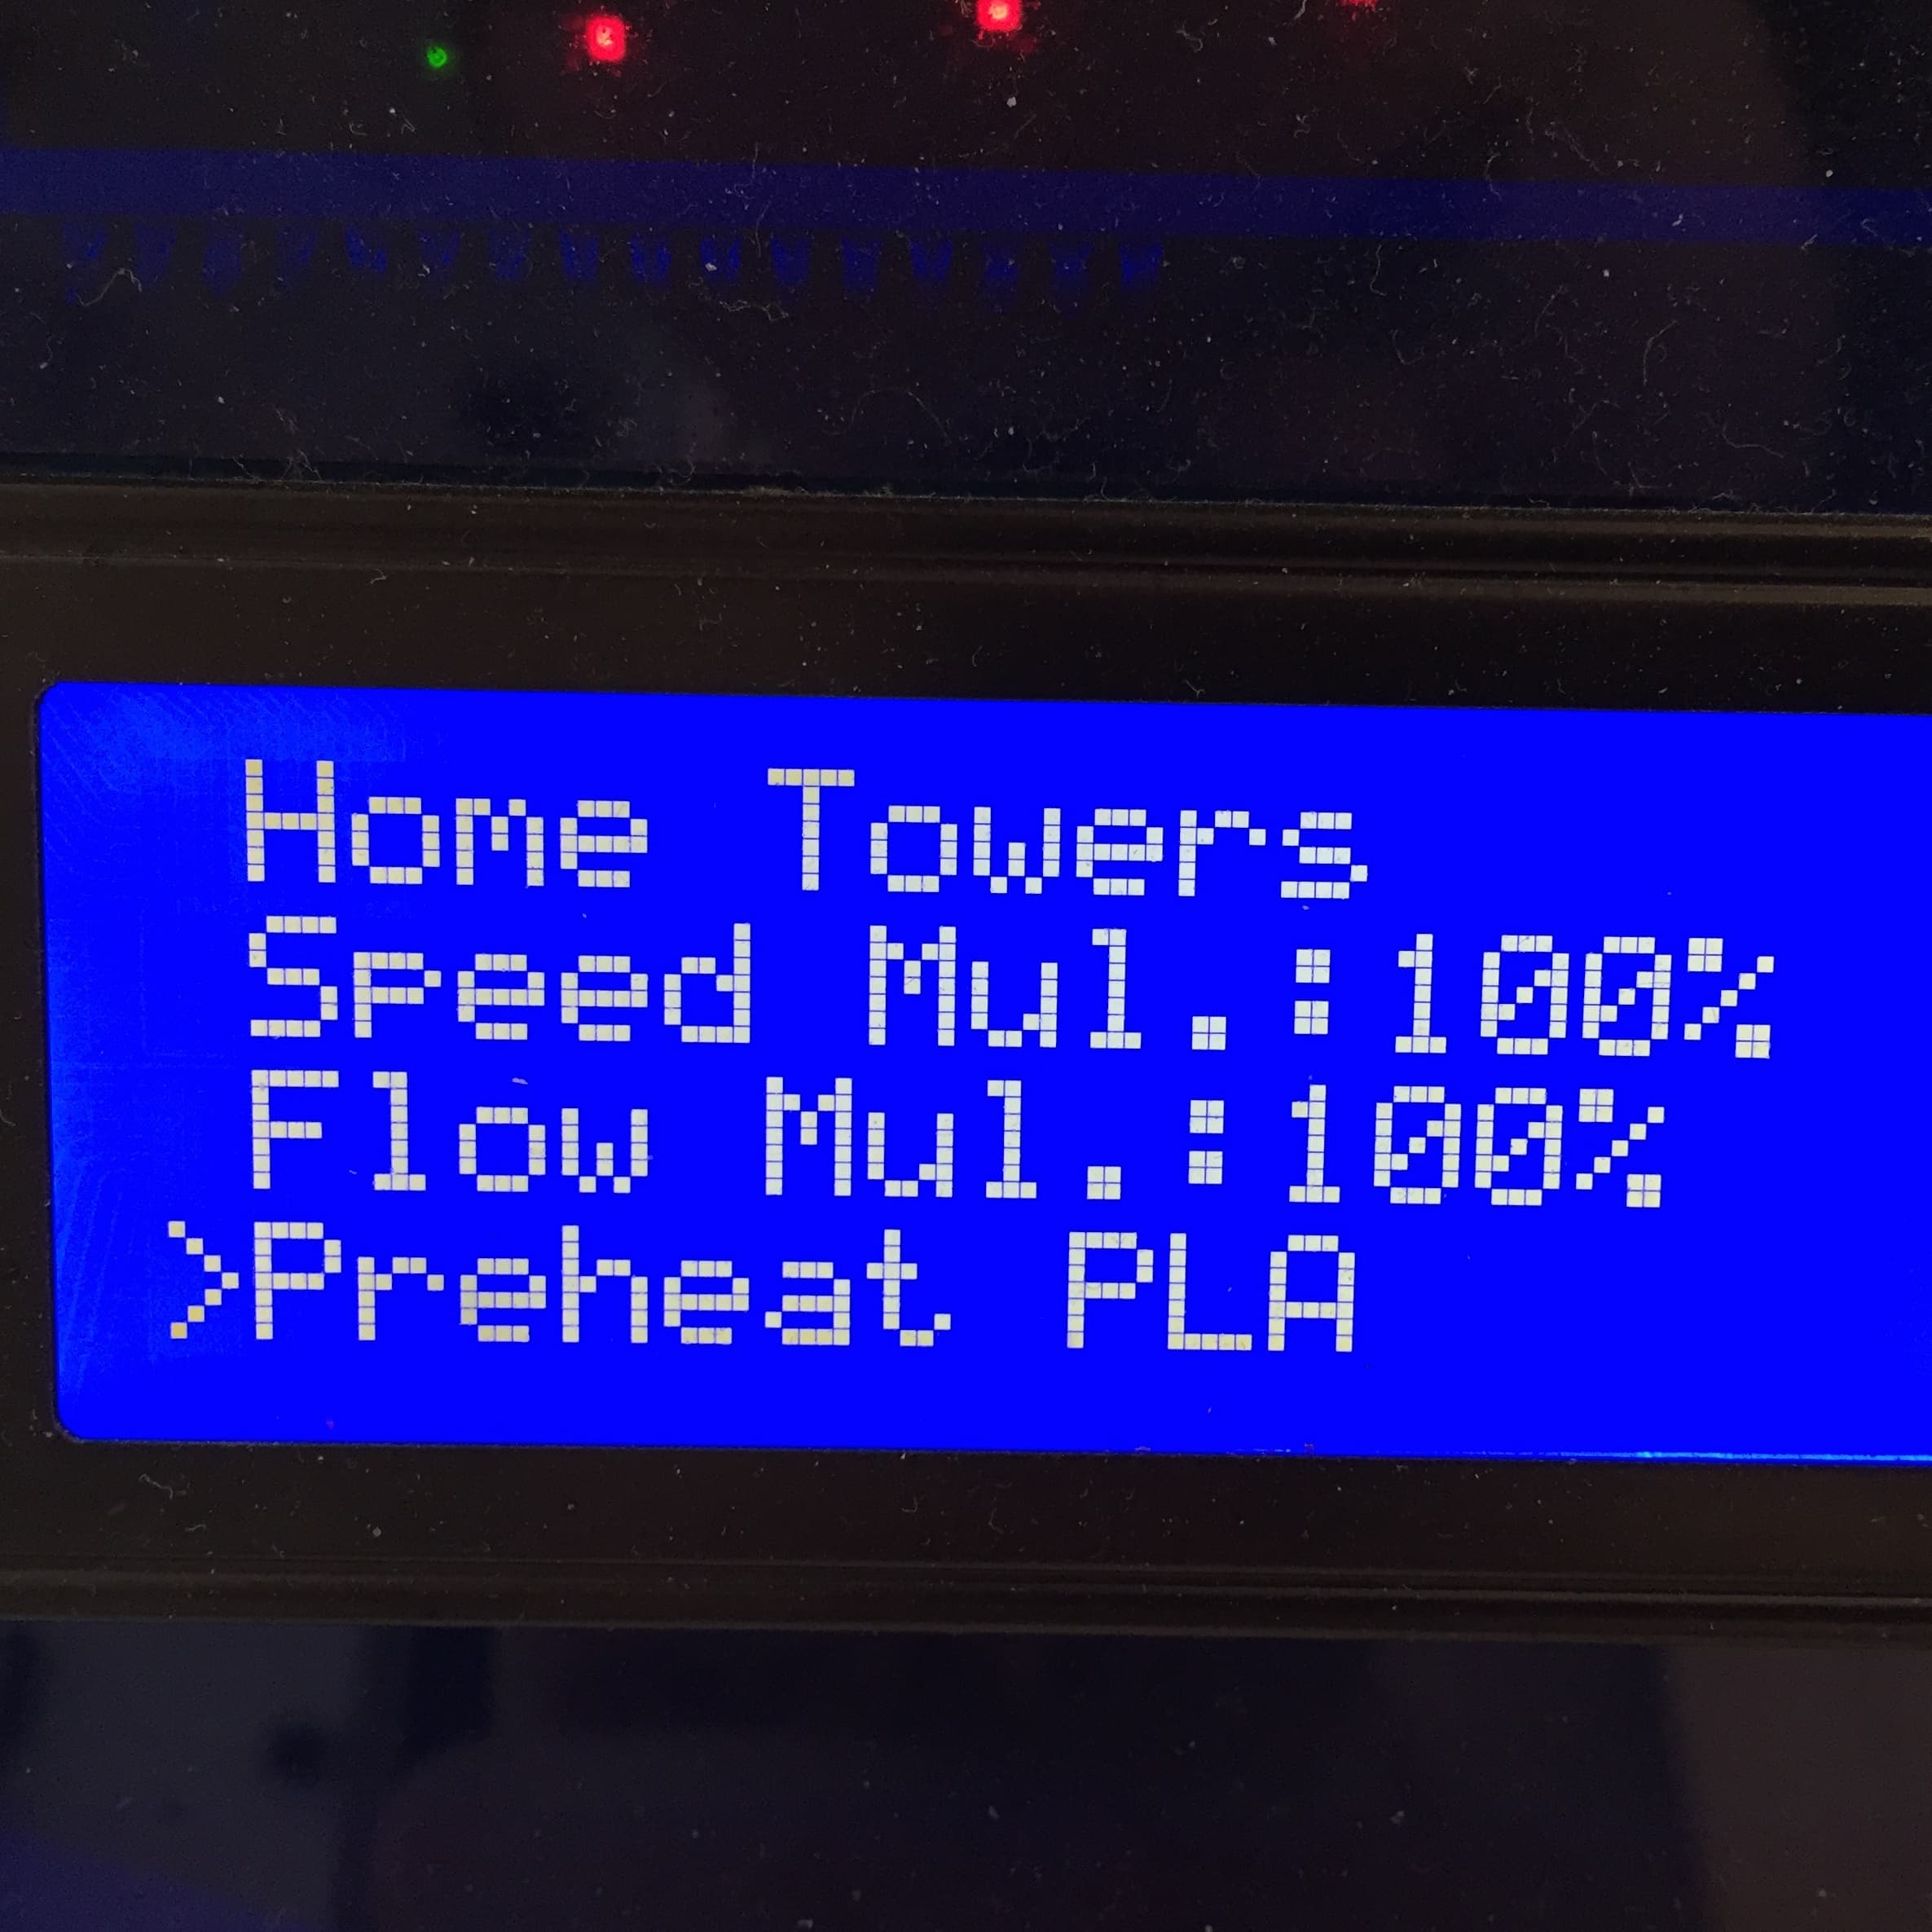
Before we do anything, we’re going to ensure the hot-end is ready by preheating the machine for PLA. This is under Printer Settings > Preheat PLA.
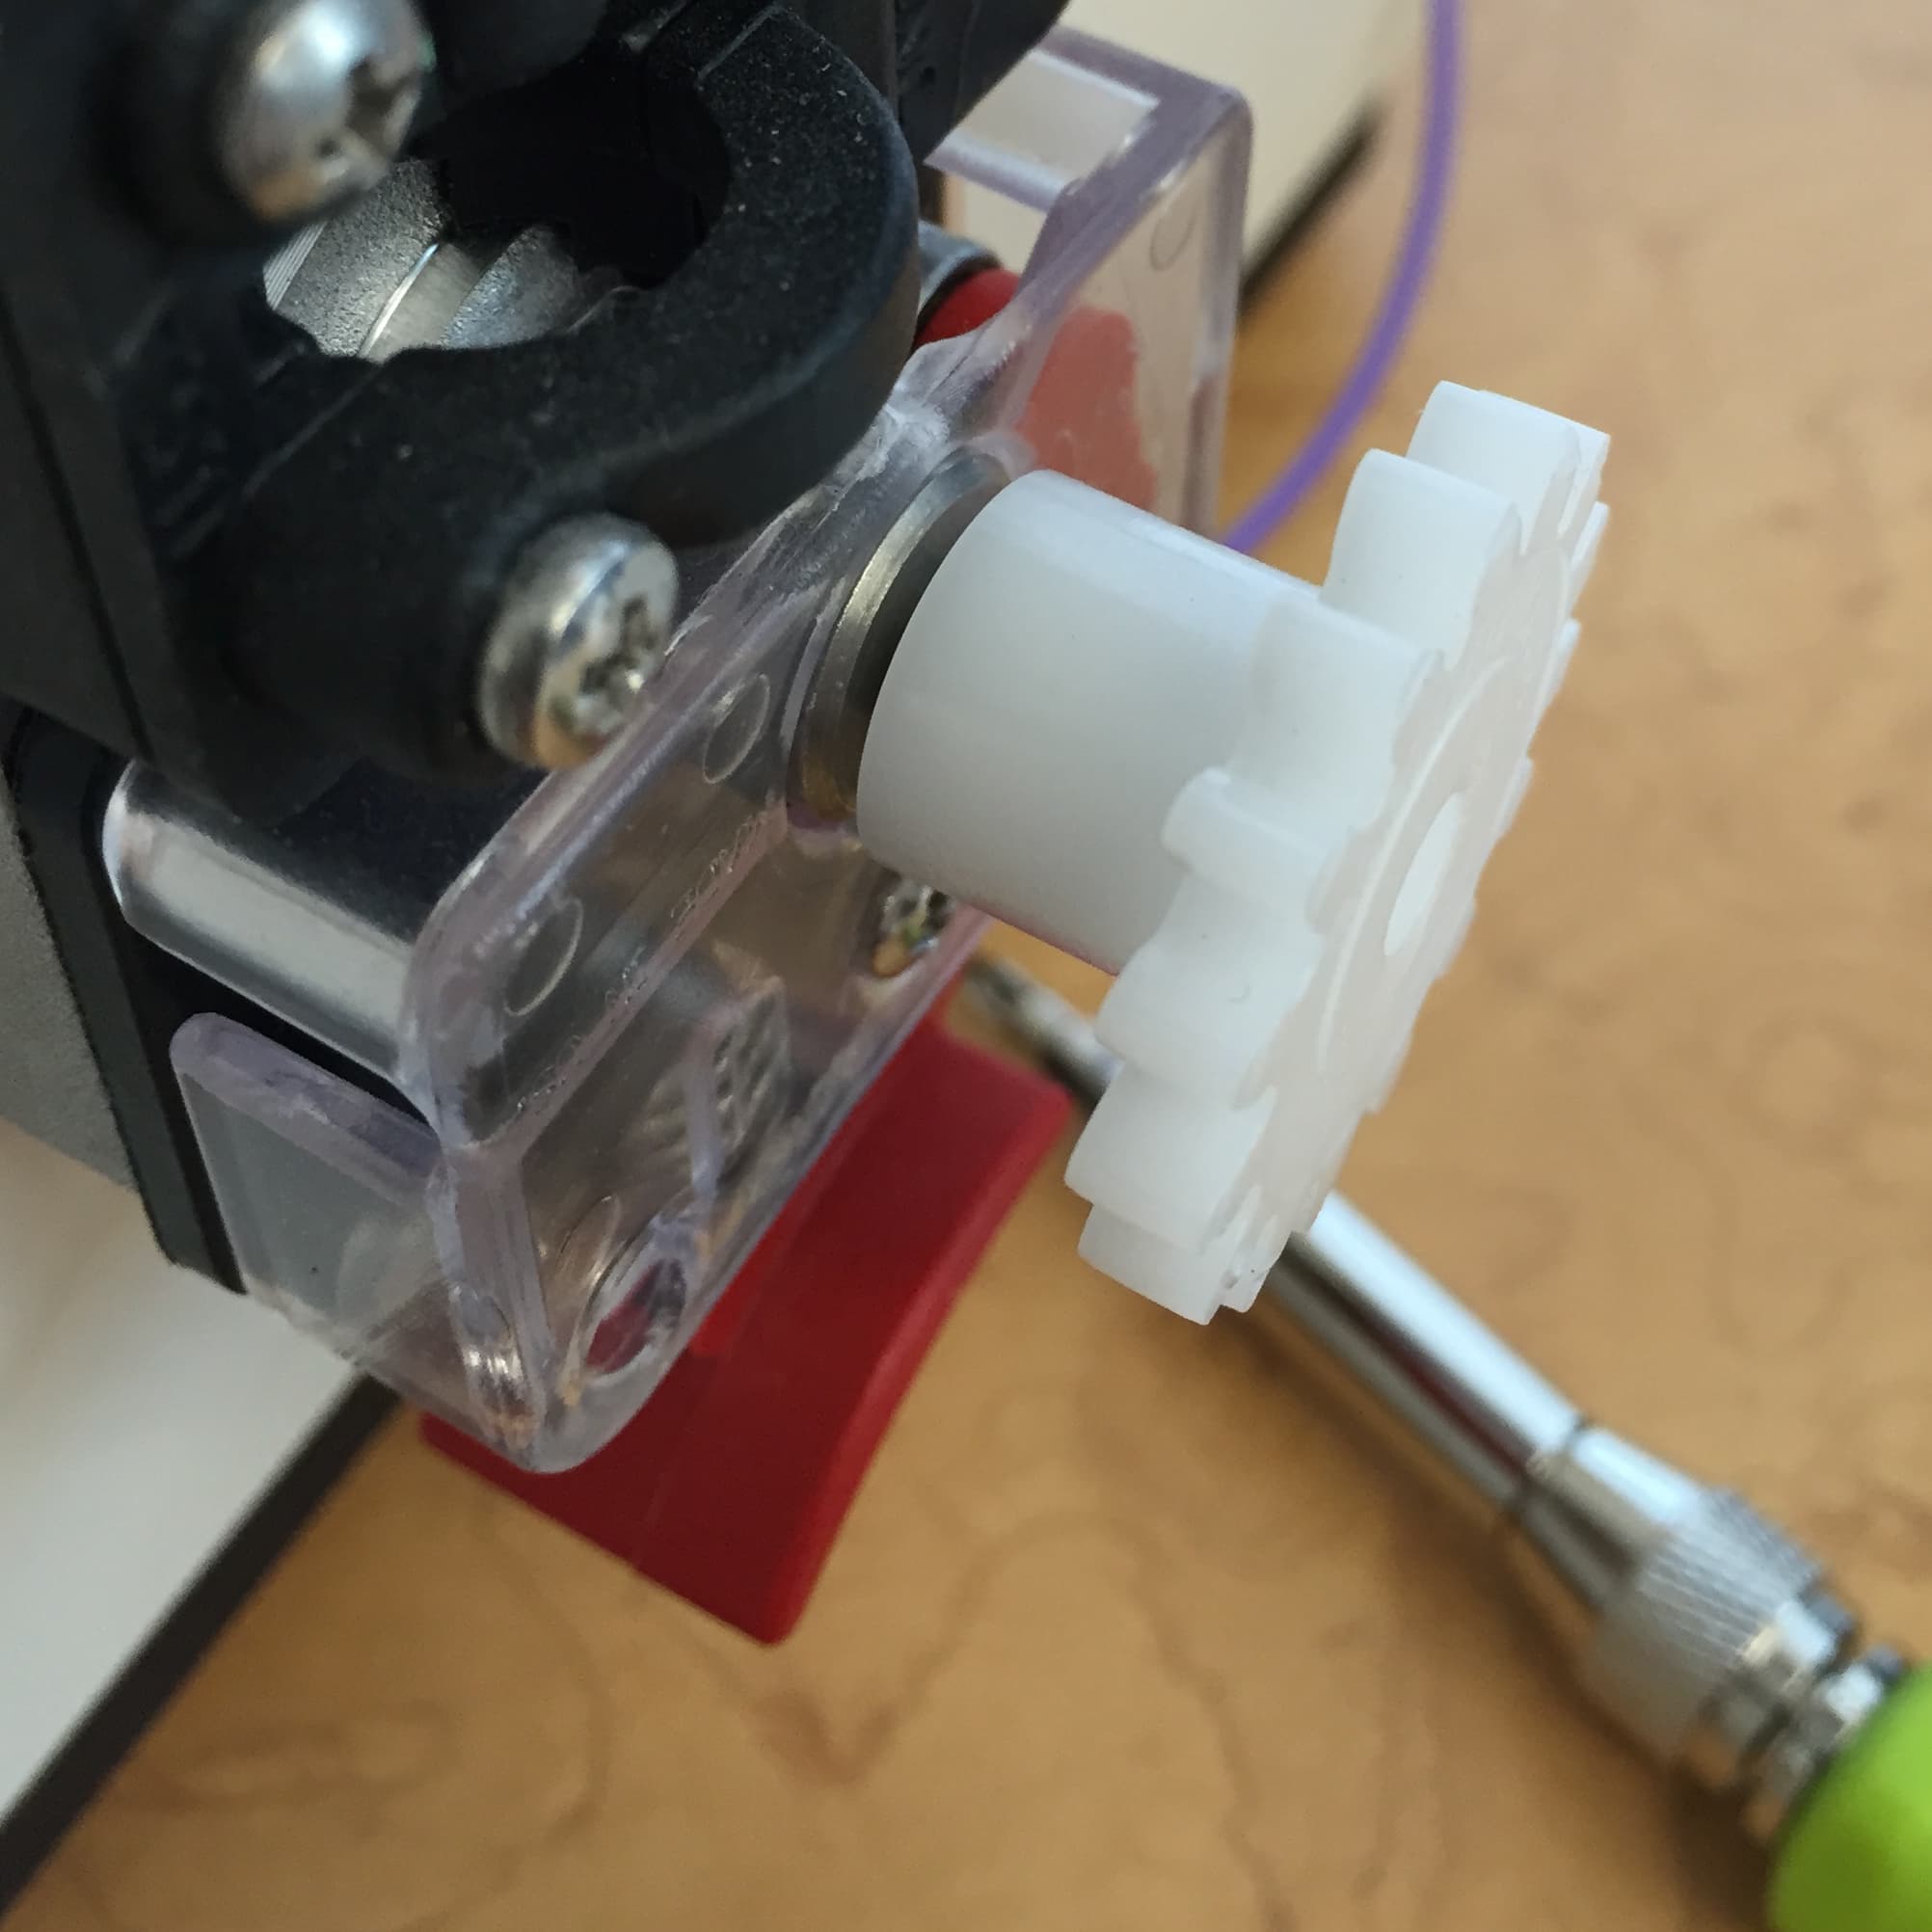
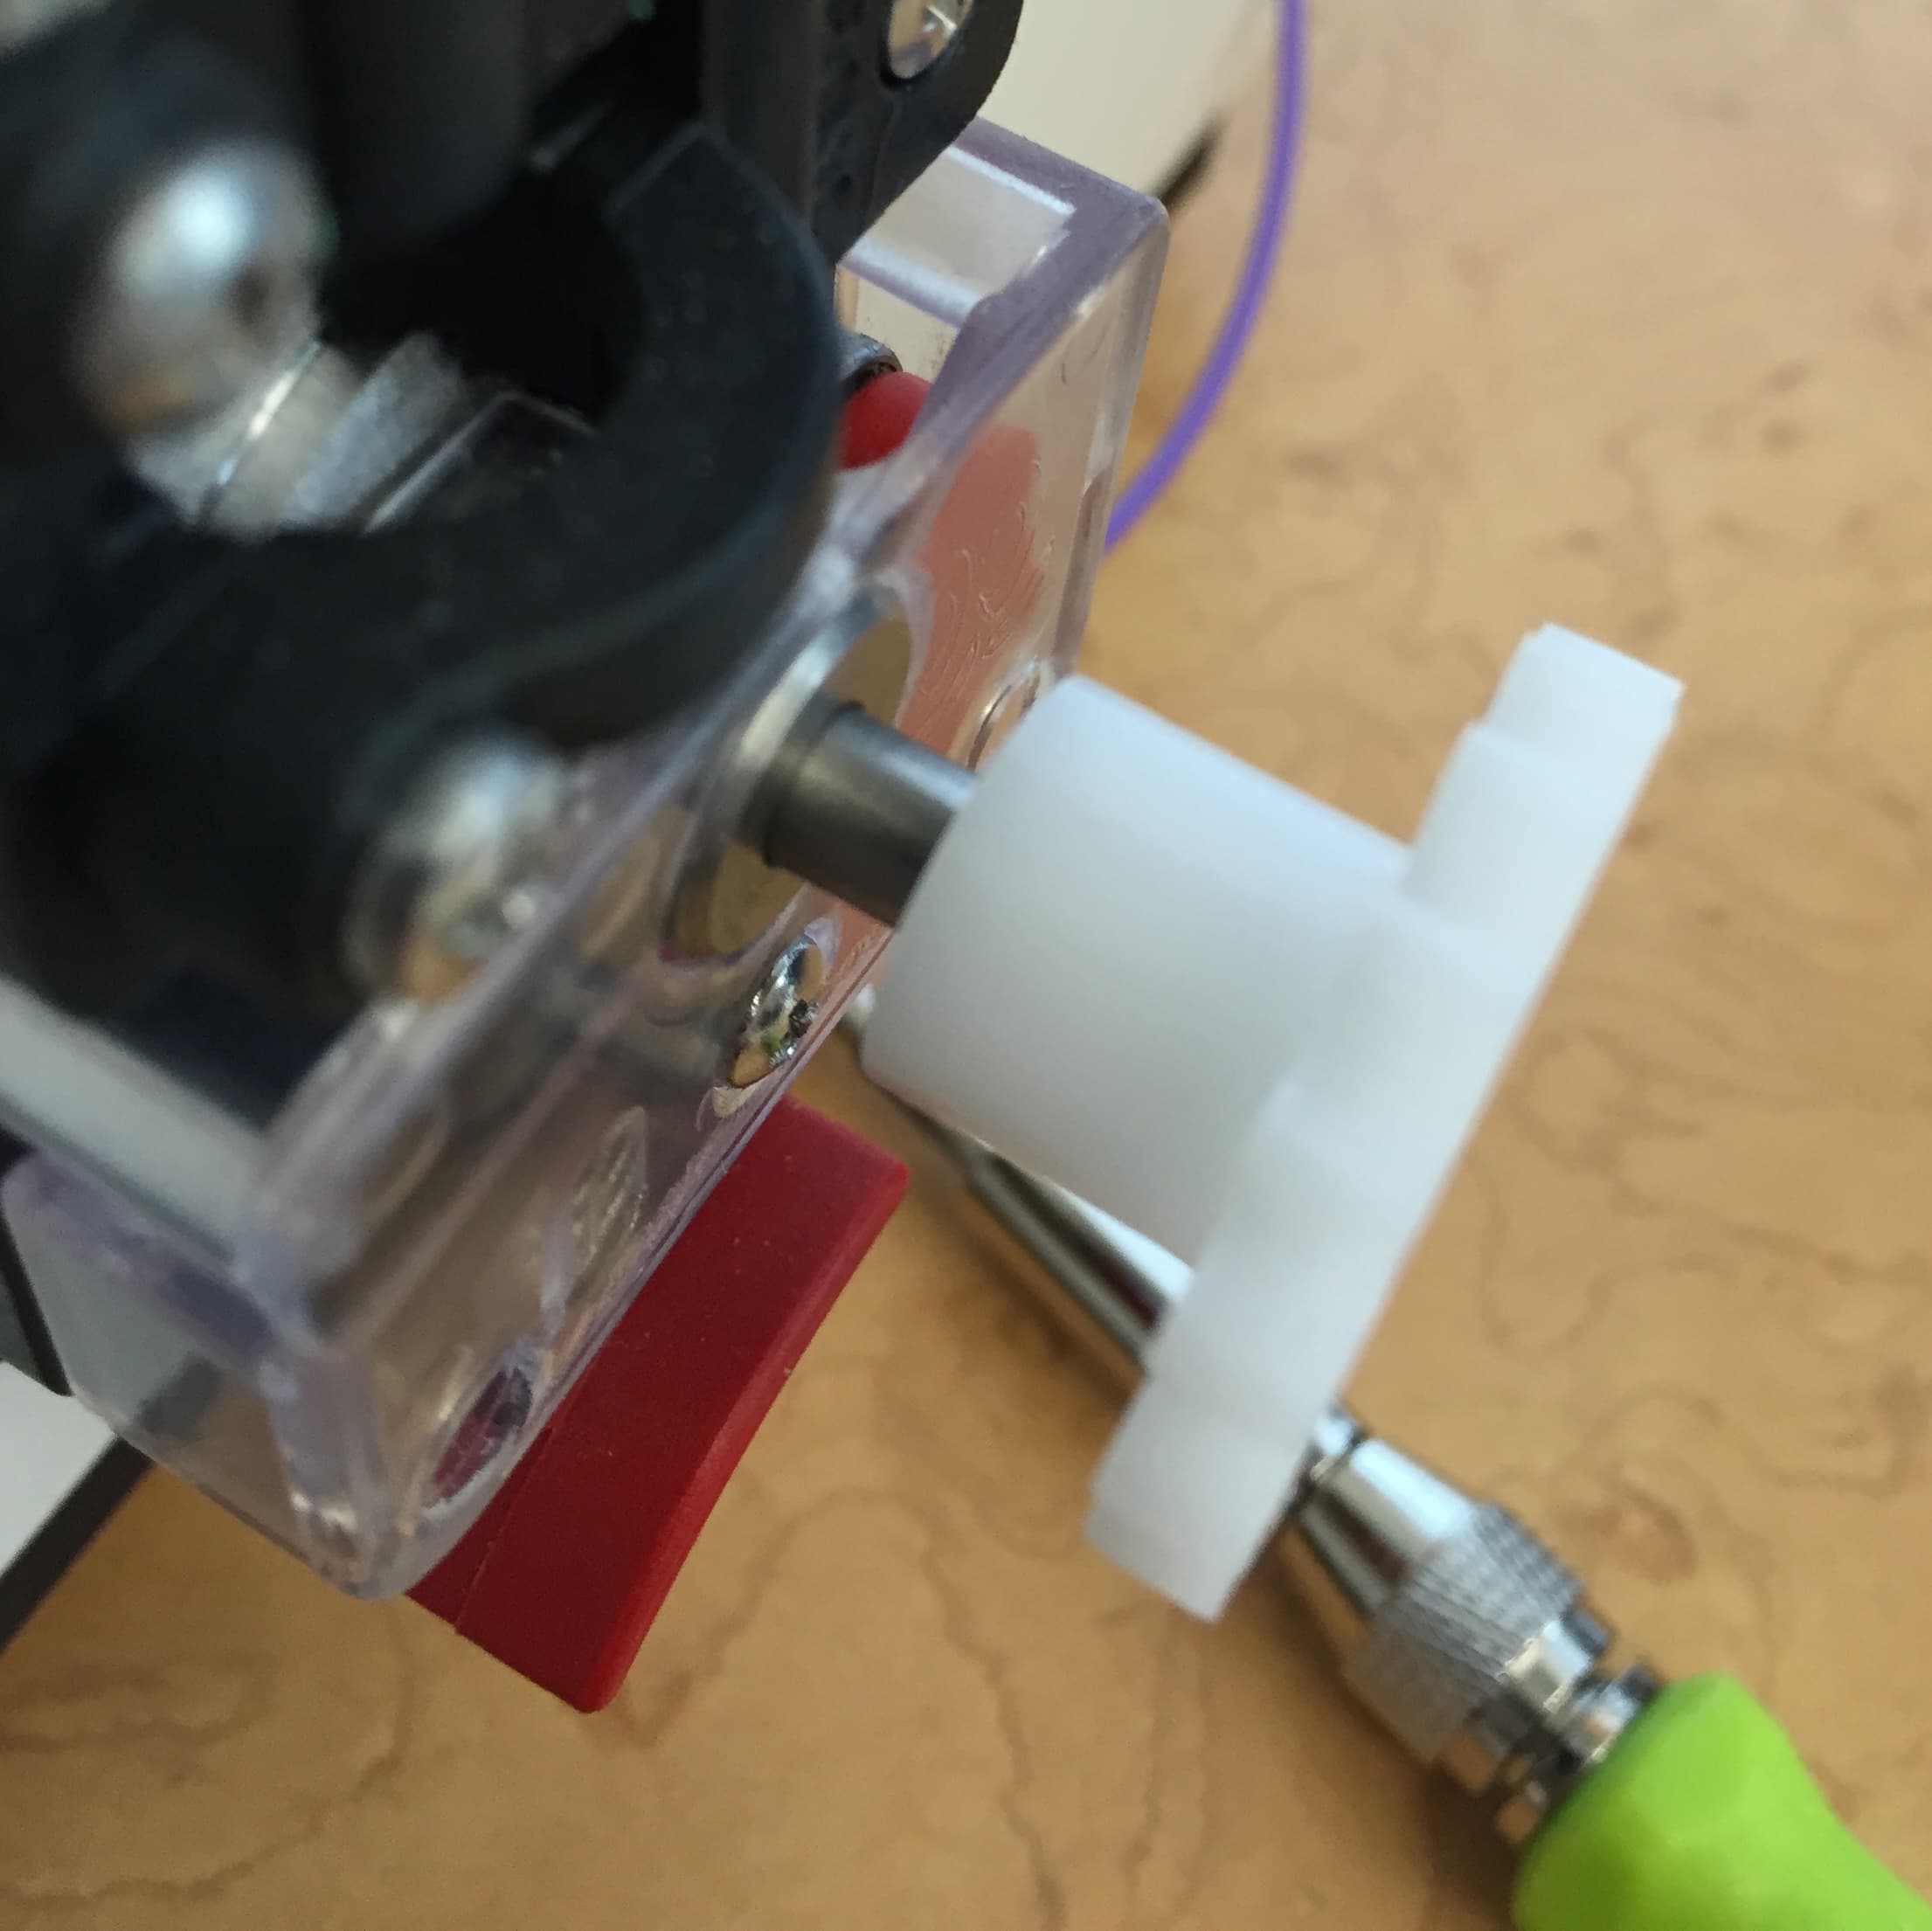
While that’s heating, we’re going to pull off the white gear attached to the stepper. This might feel like it’s not going to come off, but it will! Don’t pull too hard, and use a tool for leverage if it’s really stuck.
Once that is off, remove the assembly cover. This screw is different than the others, so keep it separate.
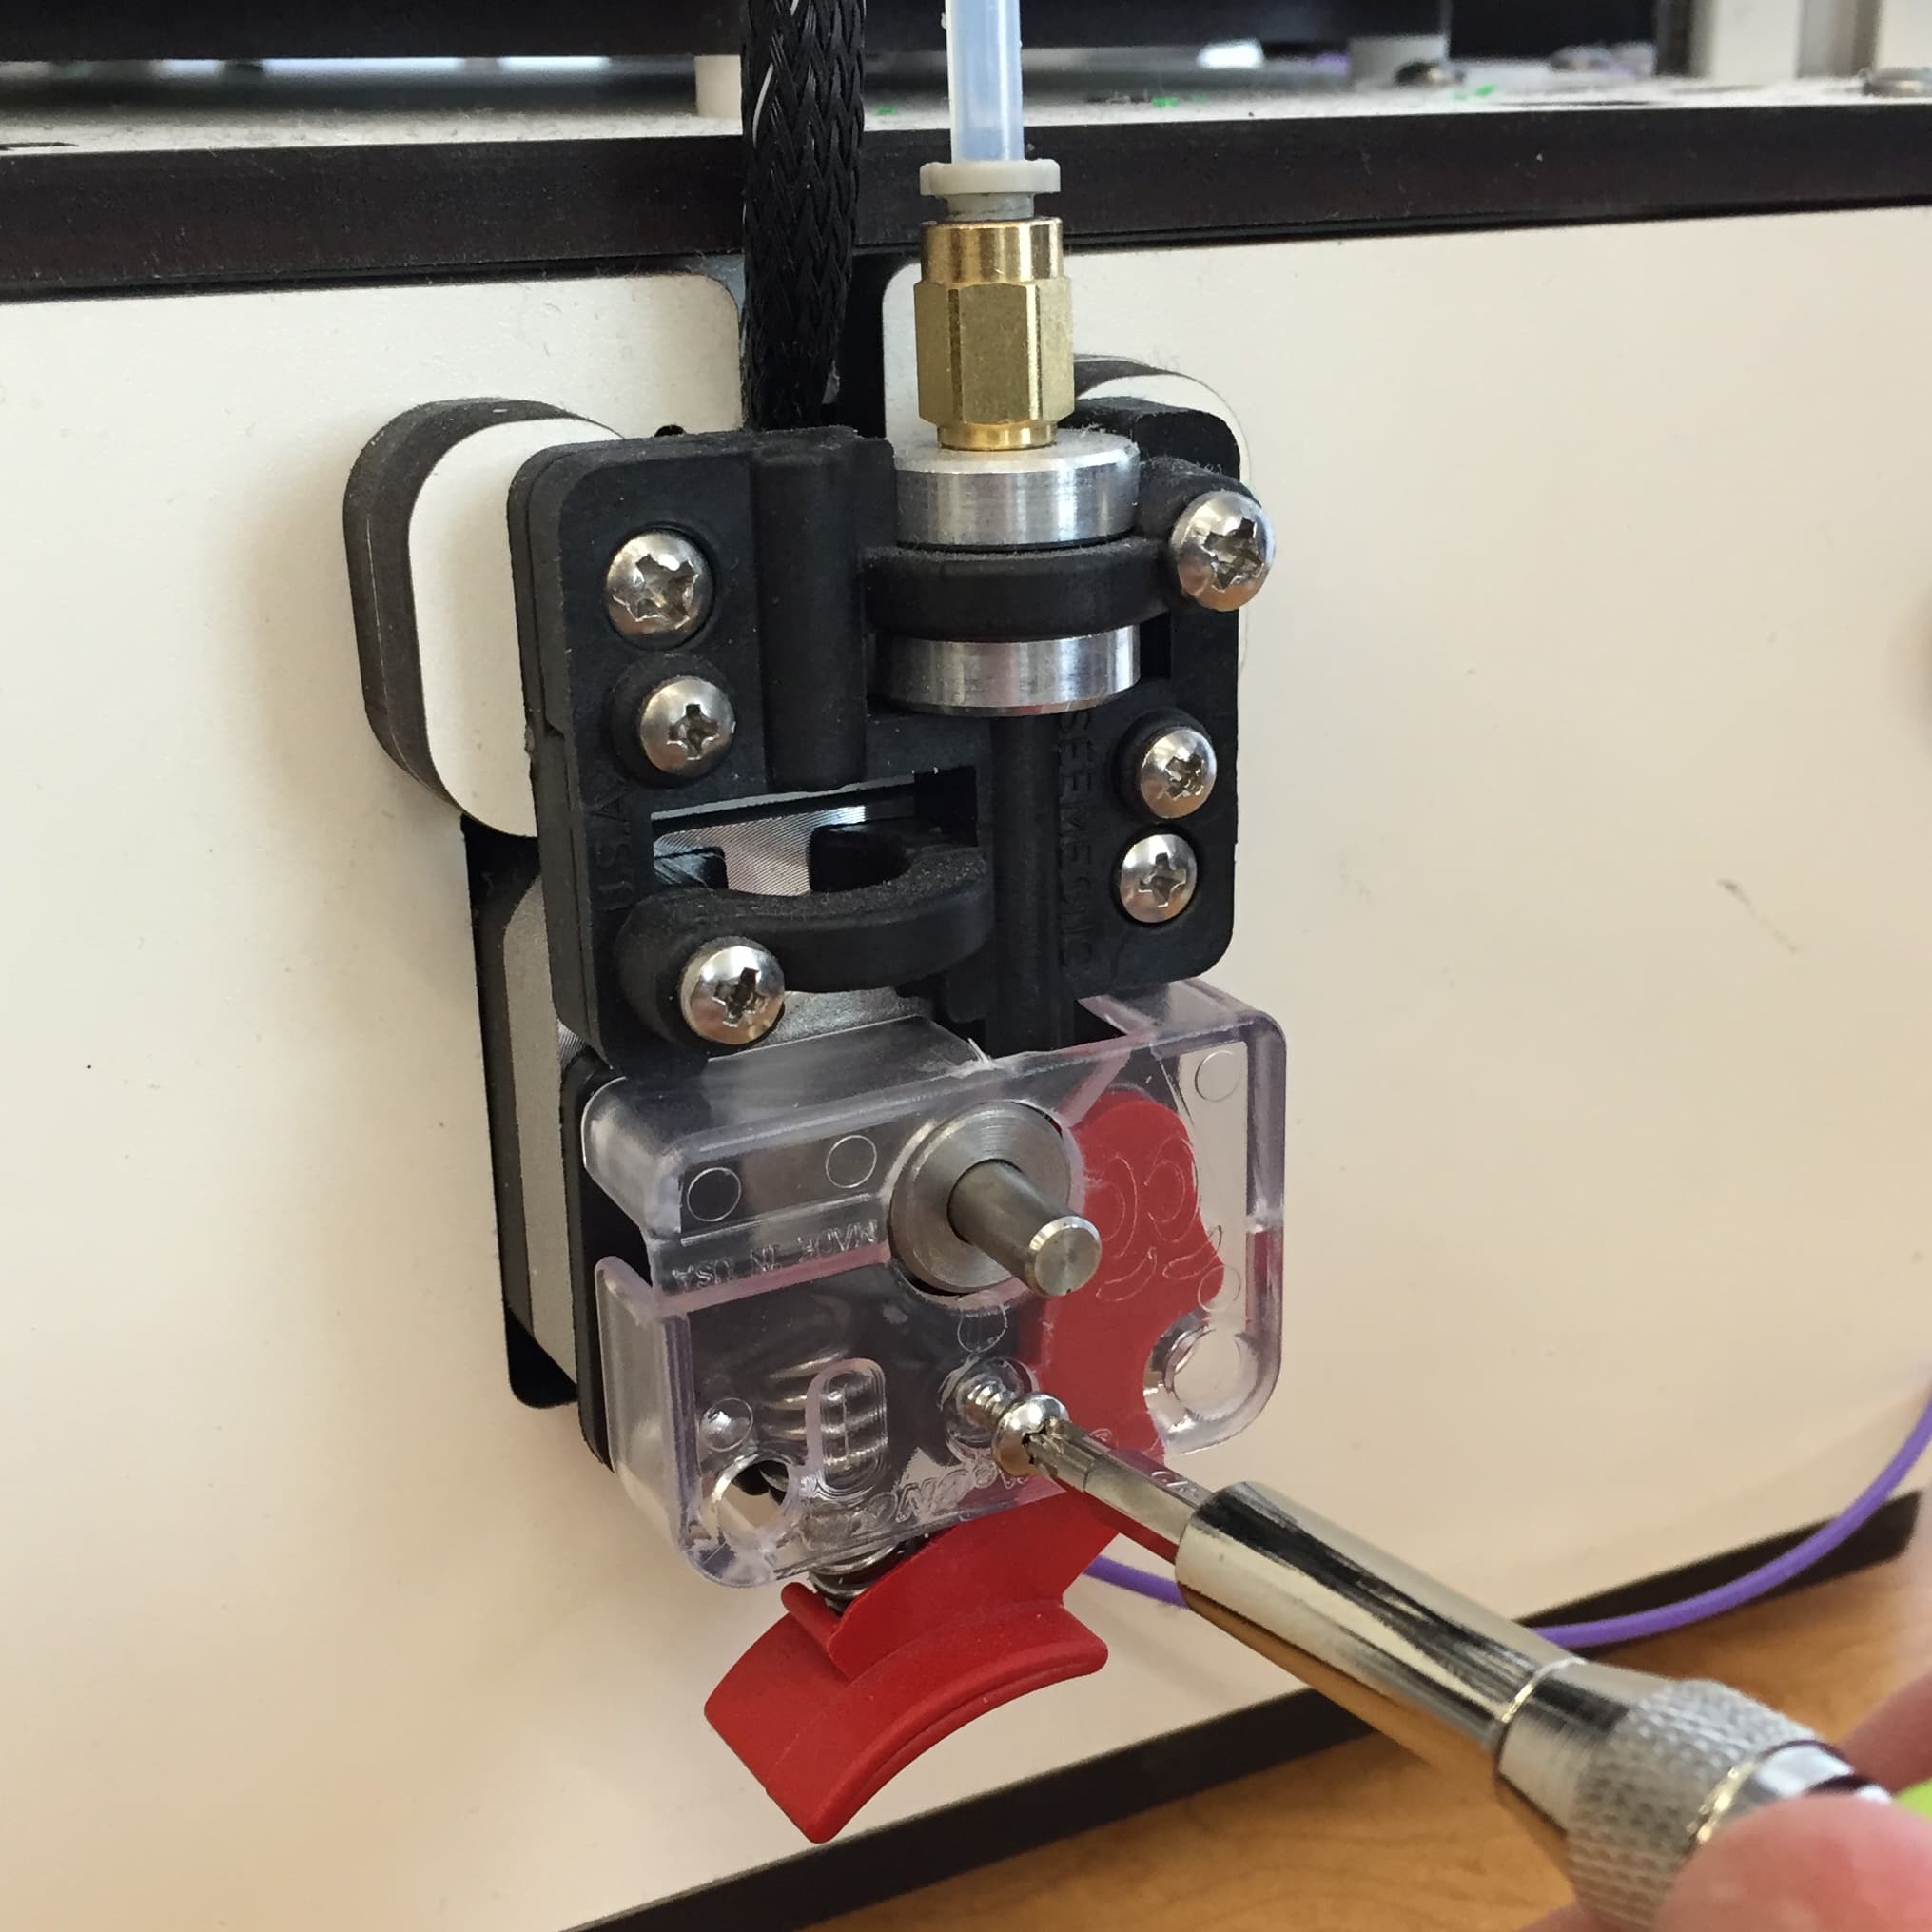
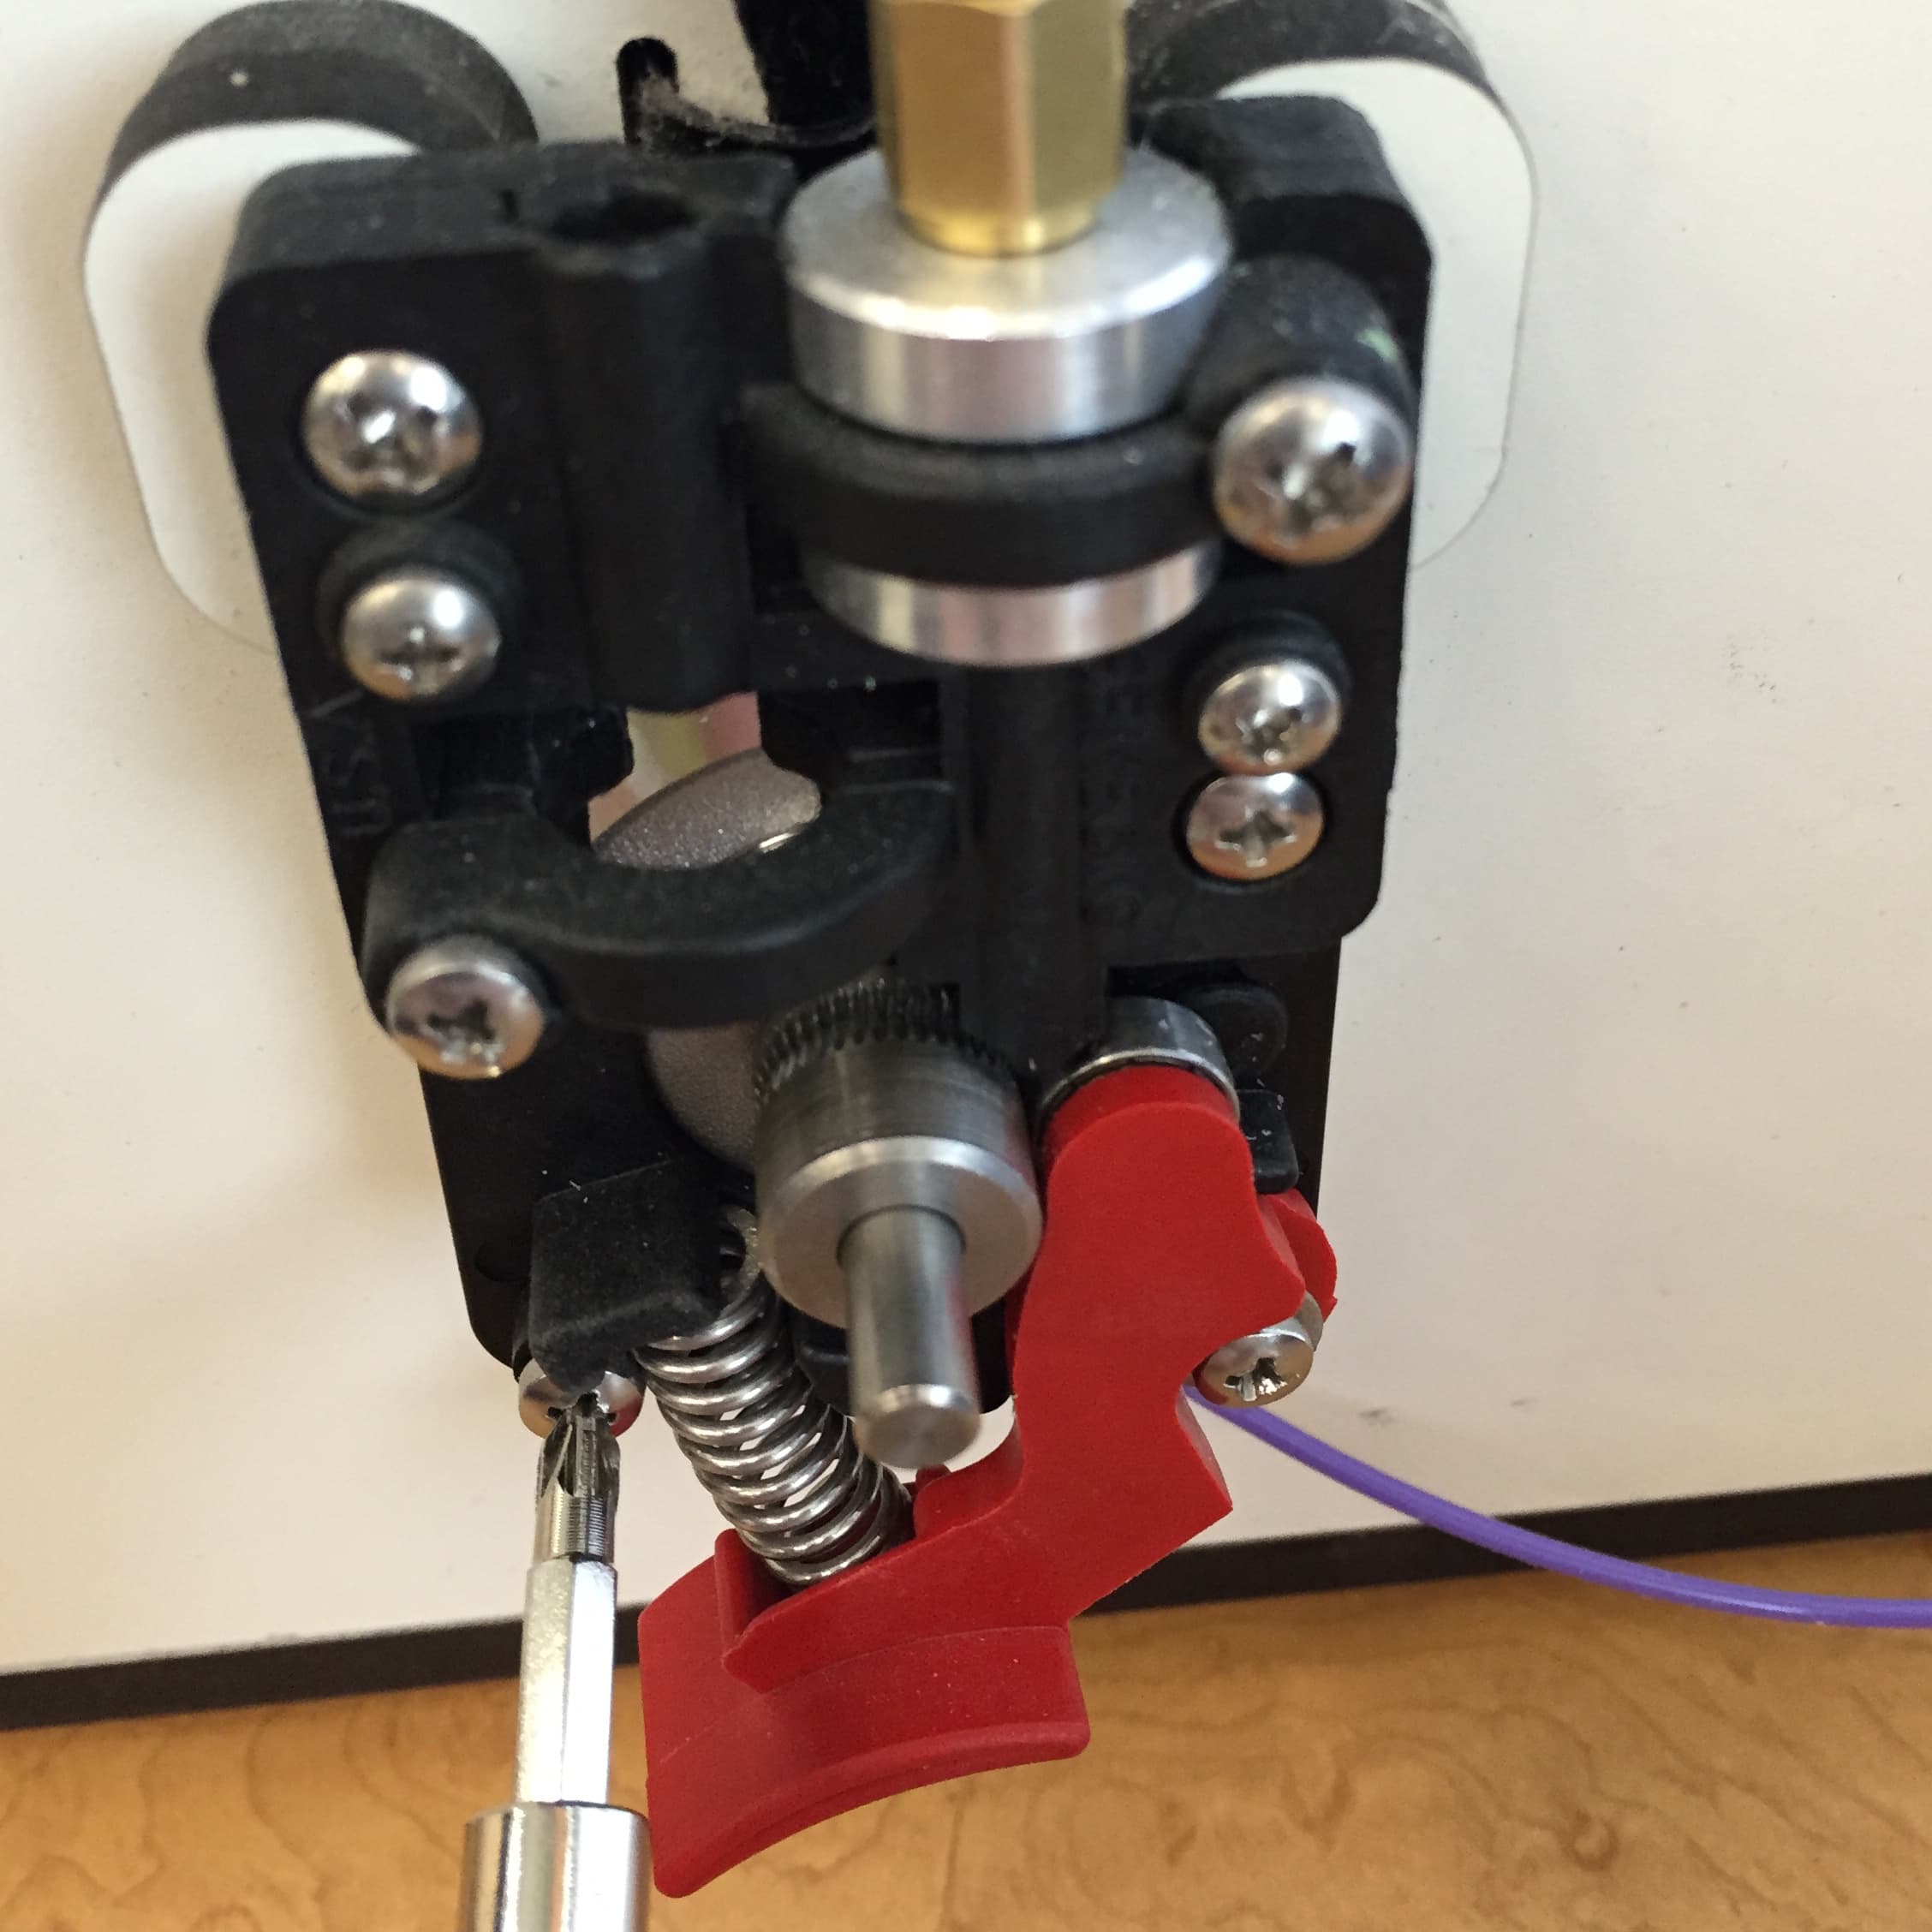
Once removed, remove the rest of the assembly. Be careful, as once the screws are out, the spring tends to jump out!
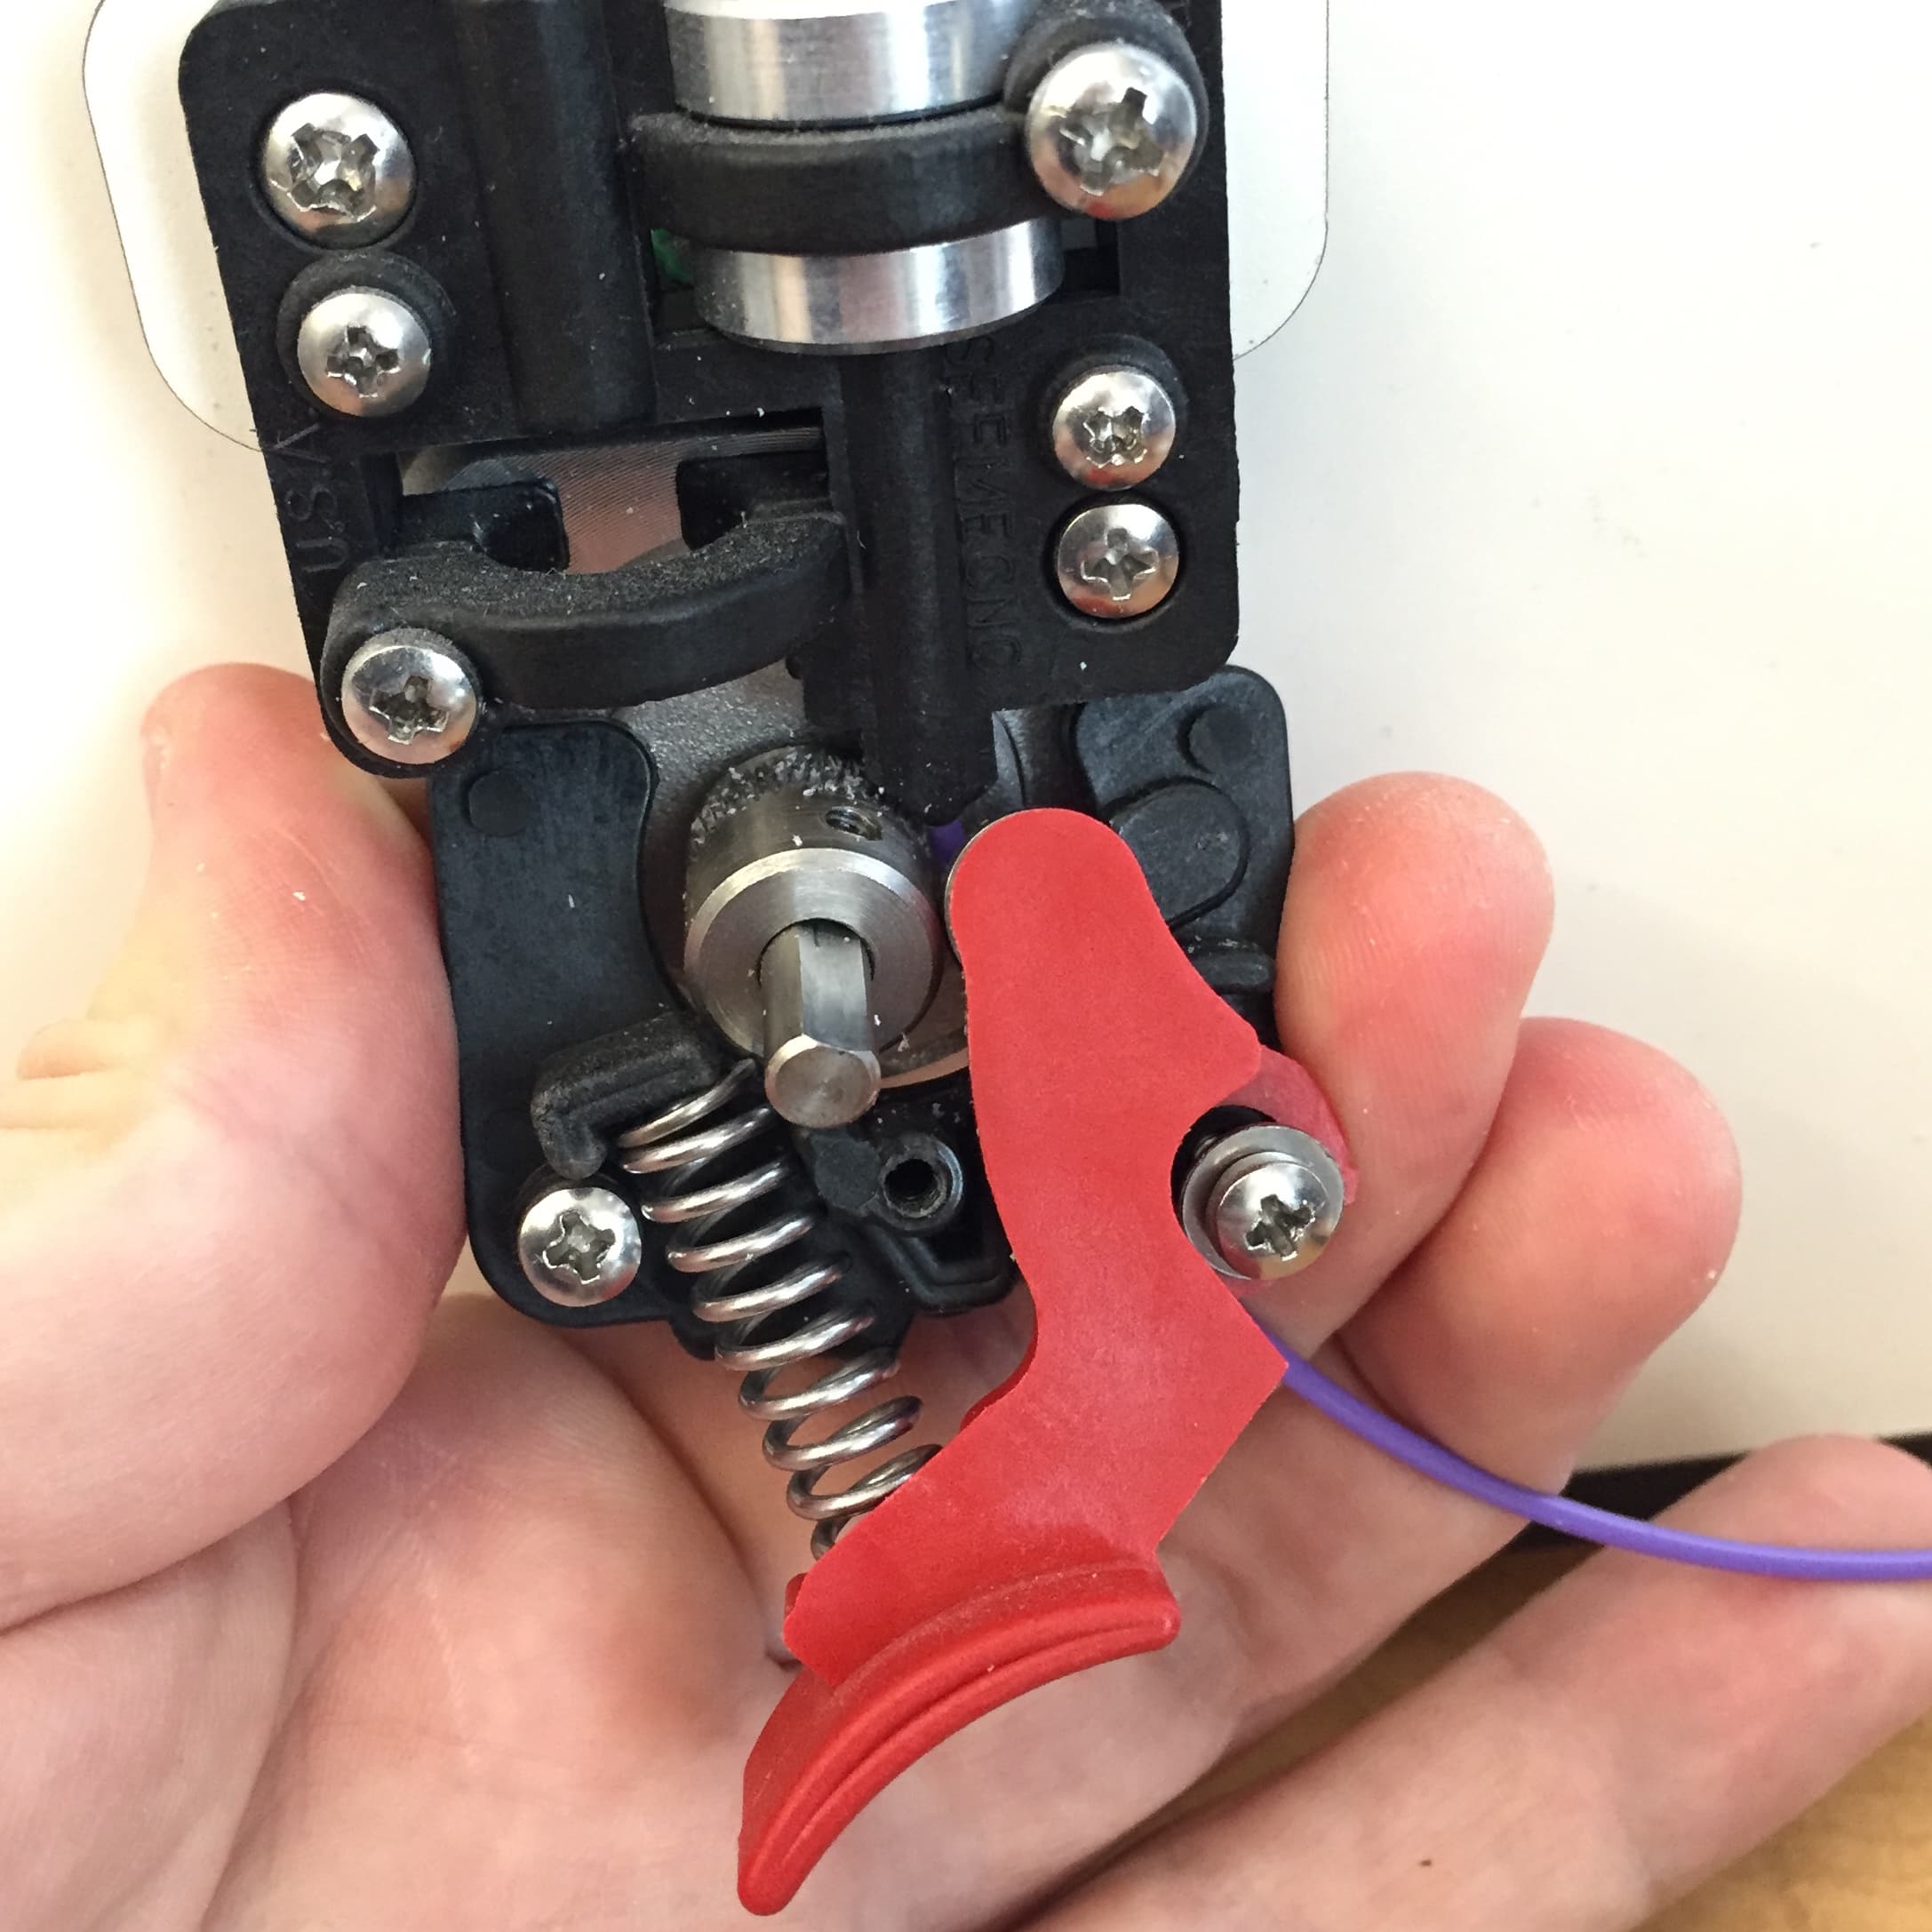
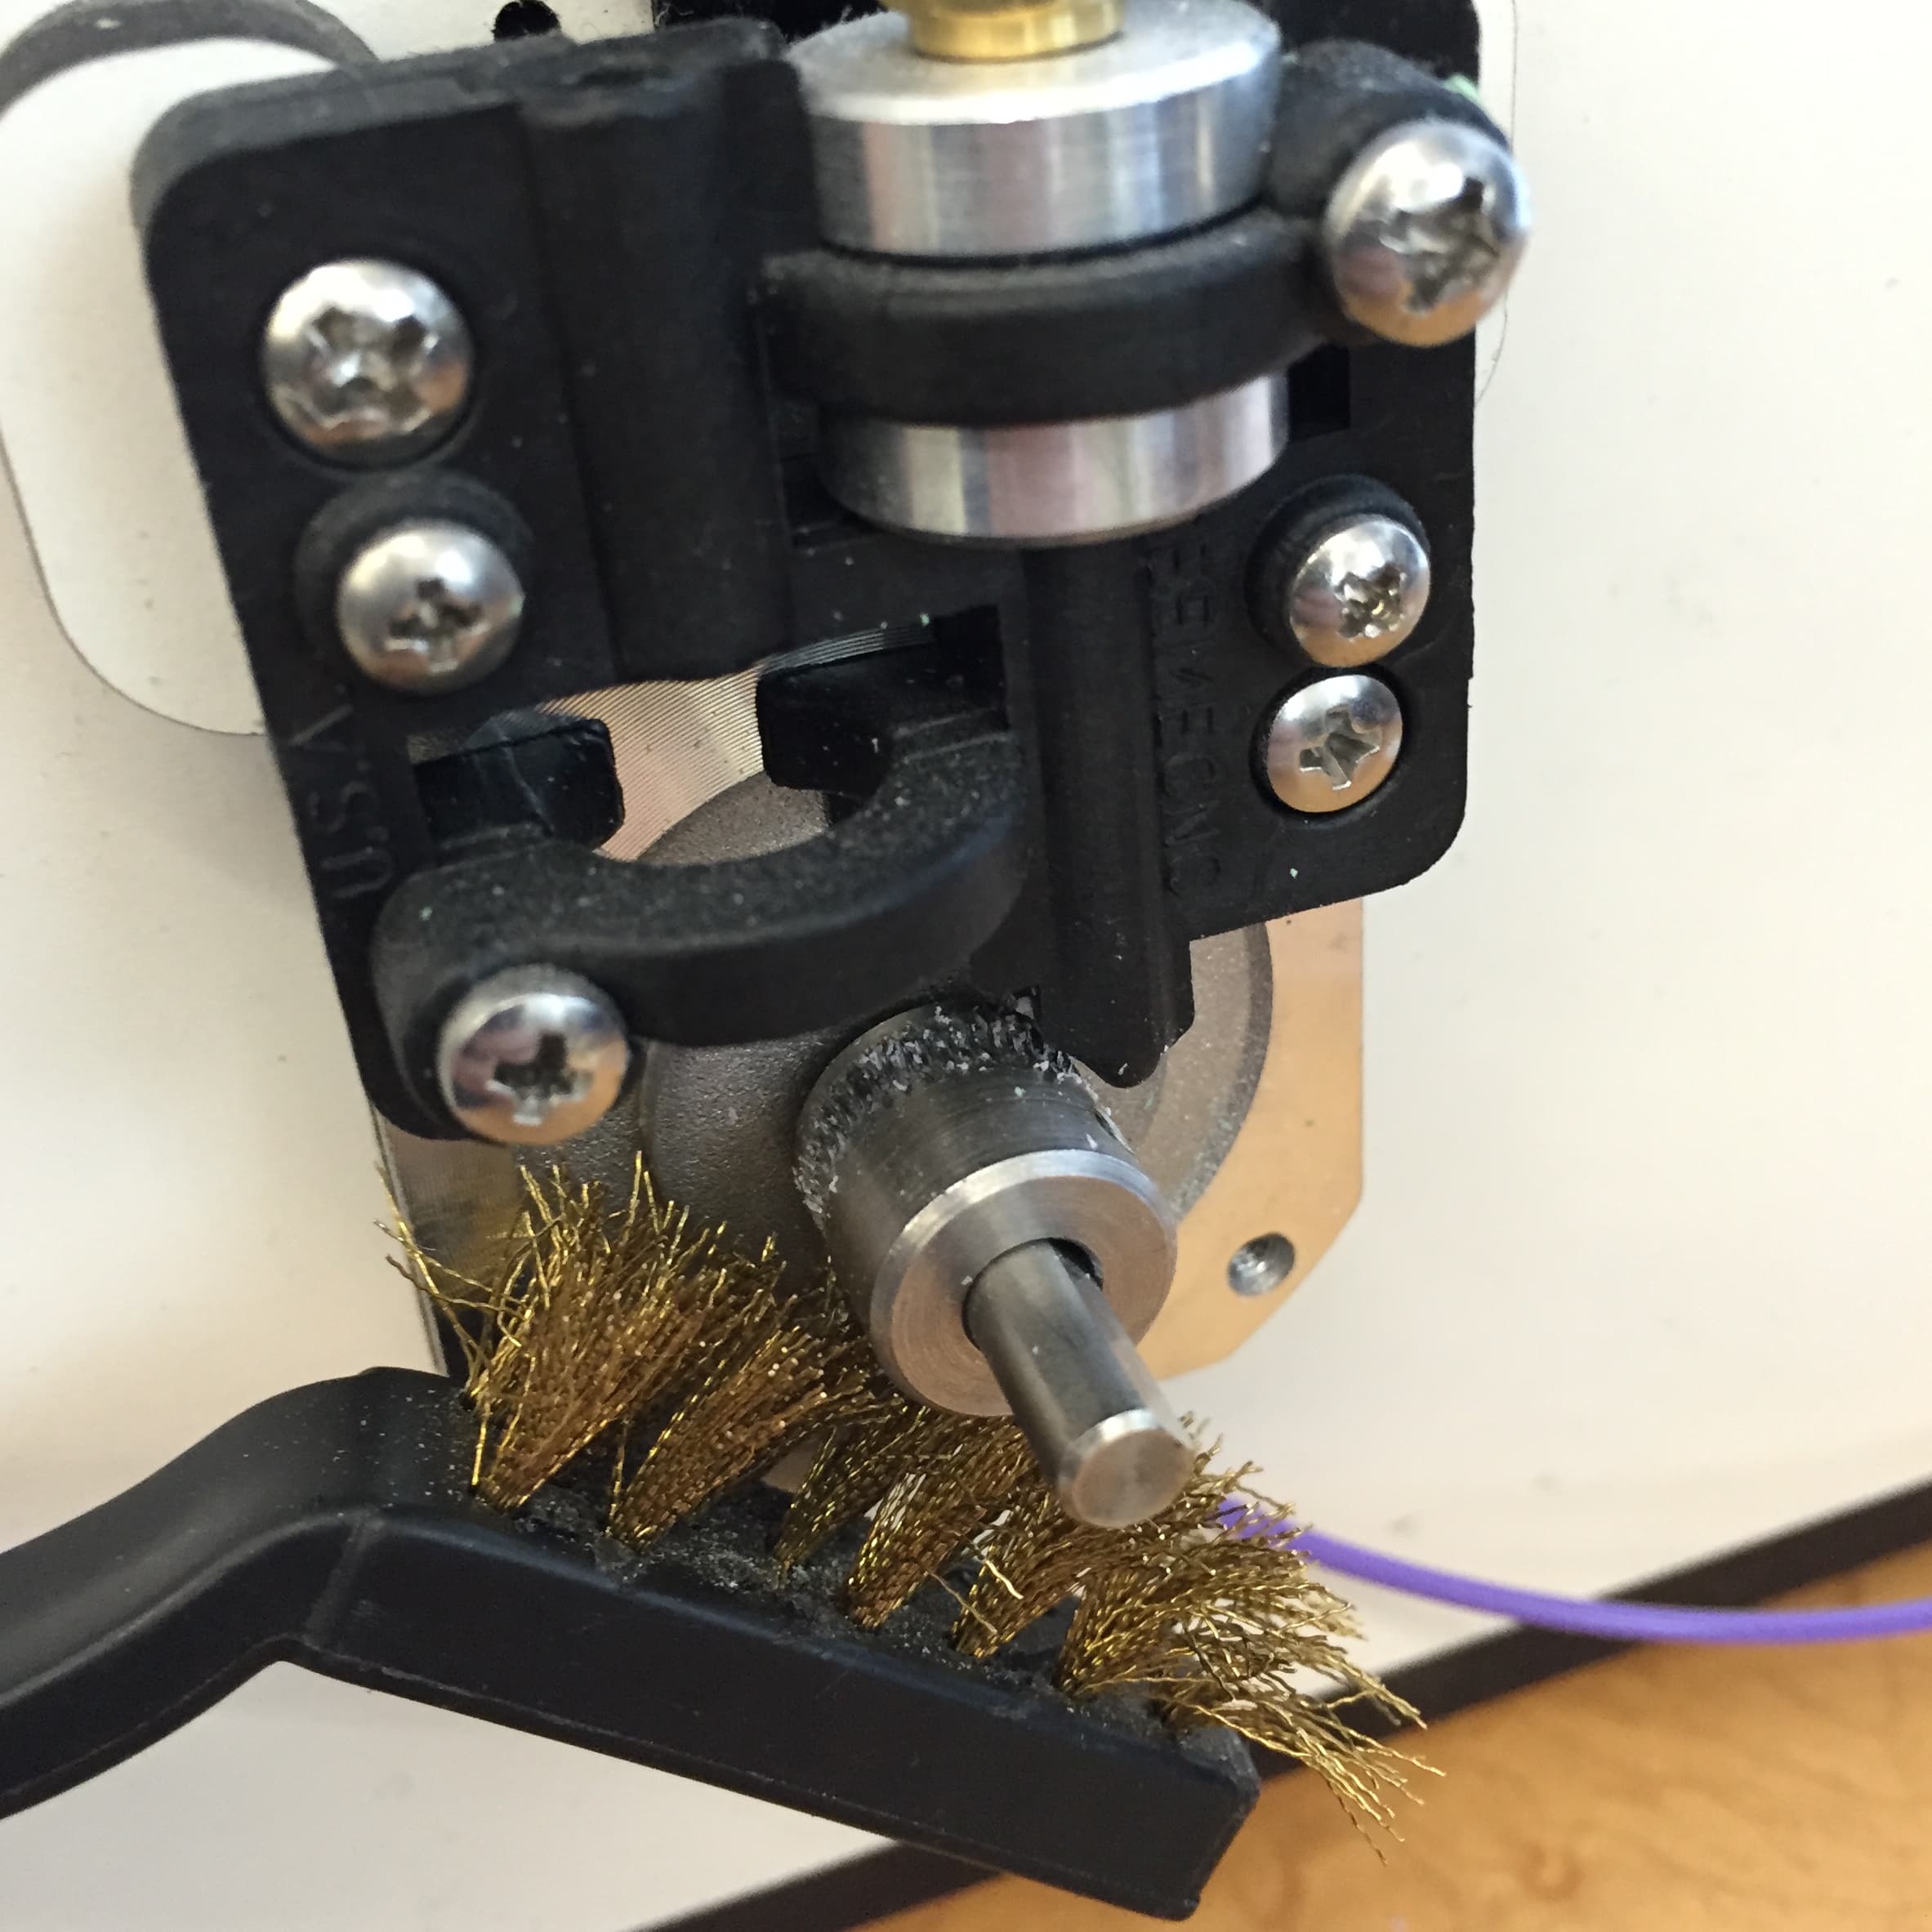
Once removed, clean the drive gear with a metal brush or similar. If you miss this step, the problem will surface again quickly, as the teeth of the gear that are usually used to push the filament through will be filled with plastic, giving the drive gear less grip on the filament.
Once it’s clean, cut the filament so that any damaged filament can be removed.
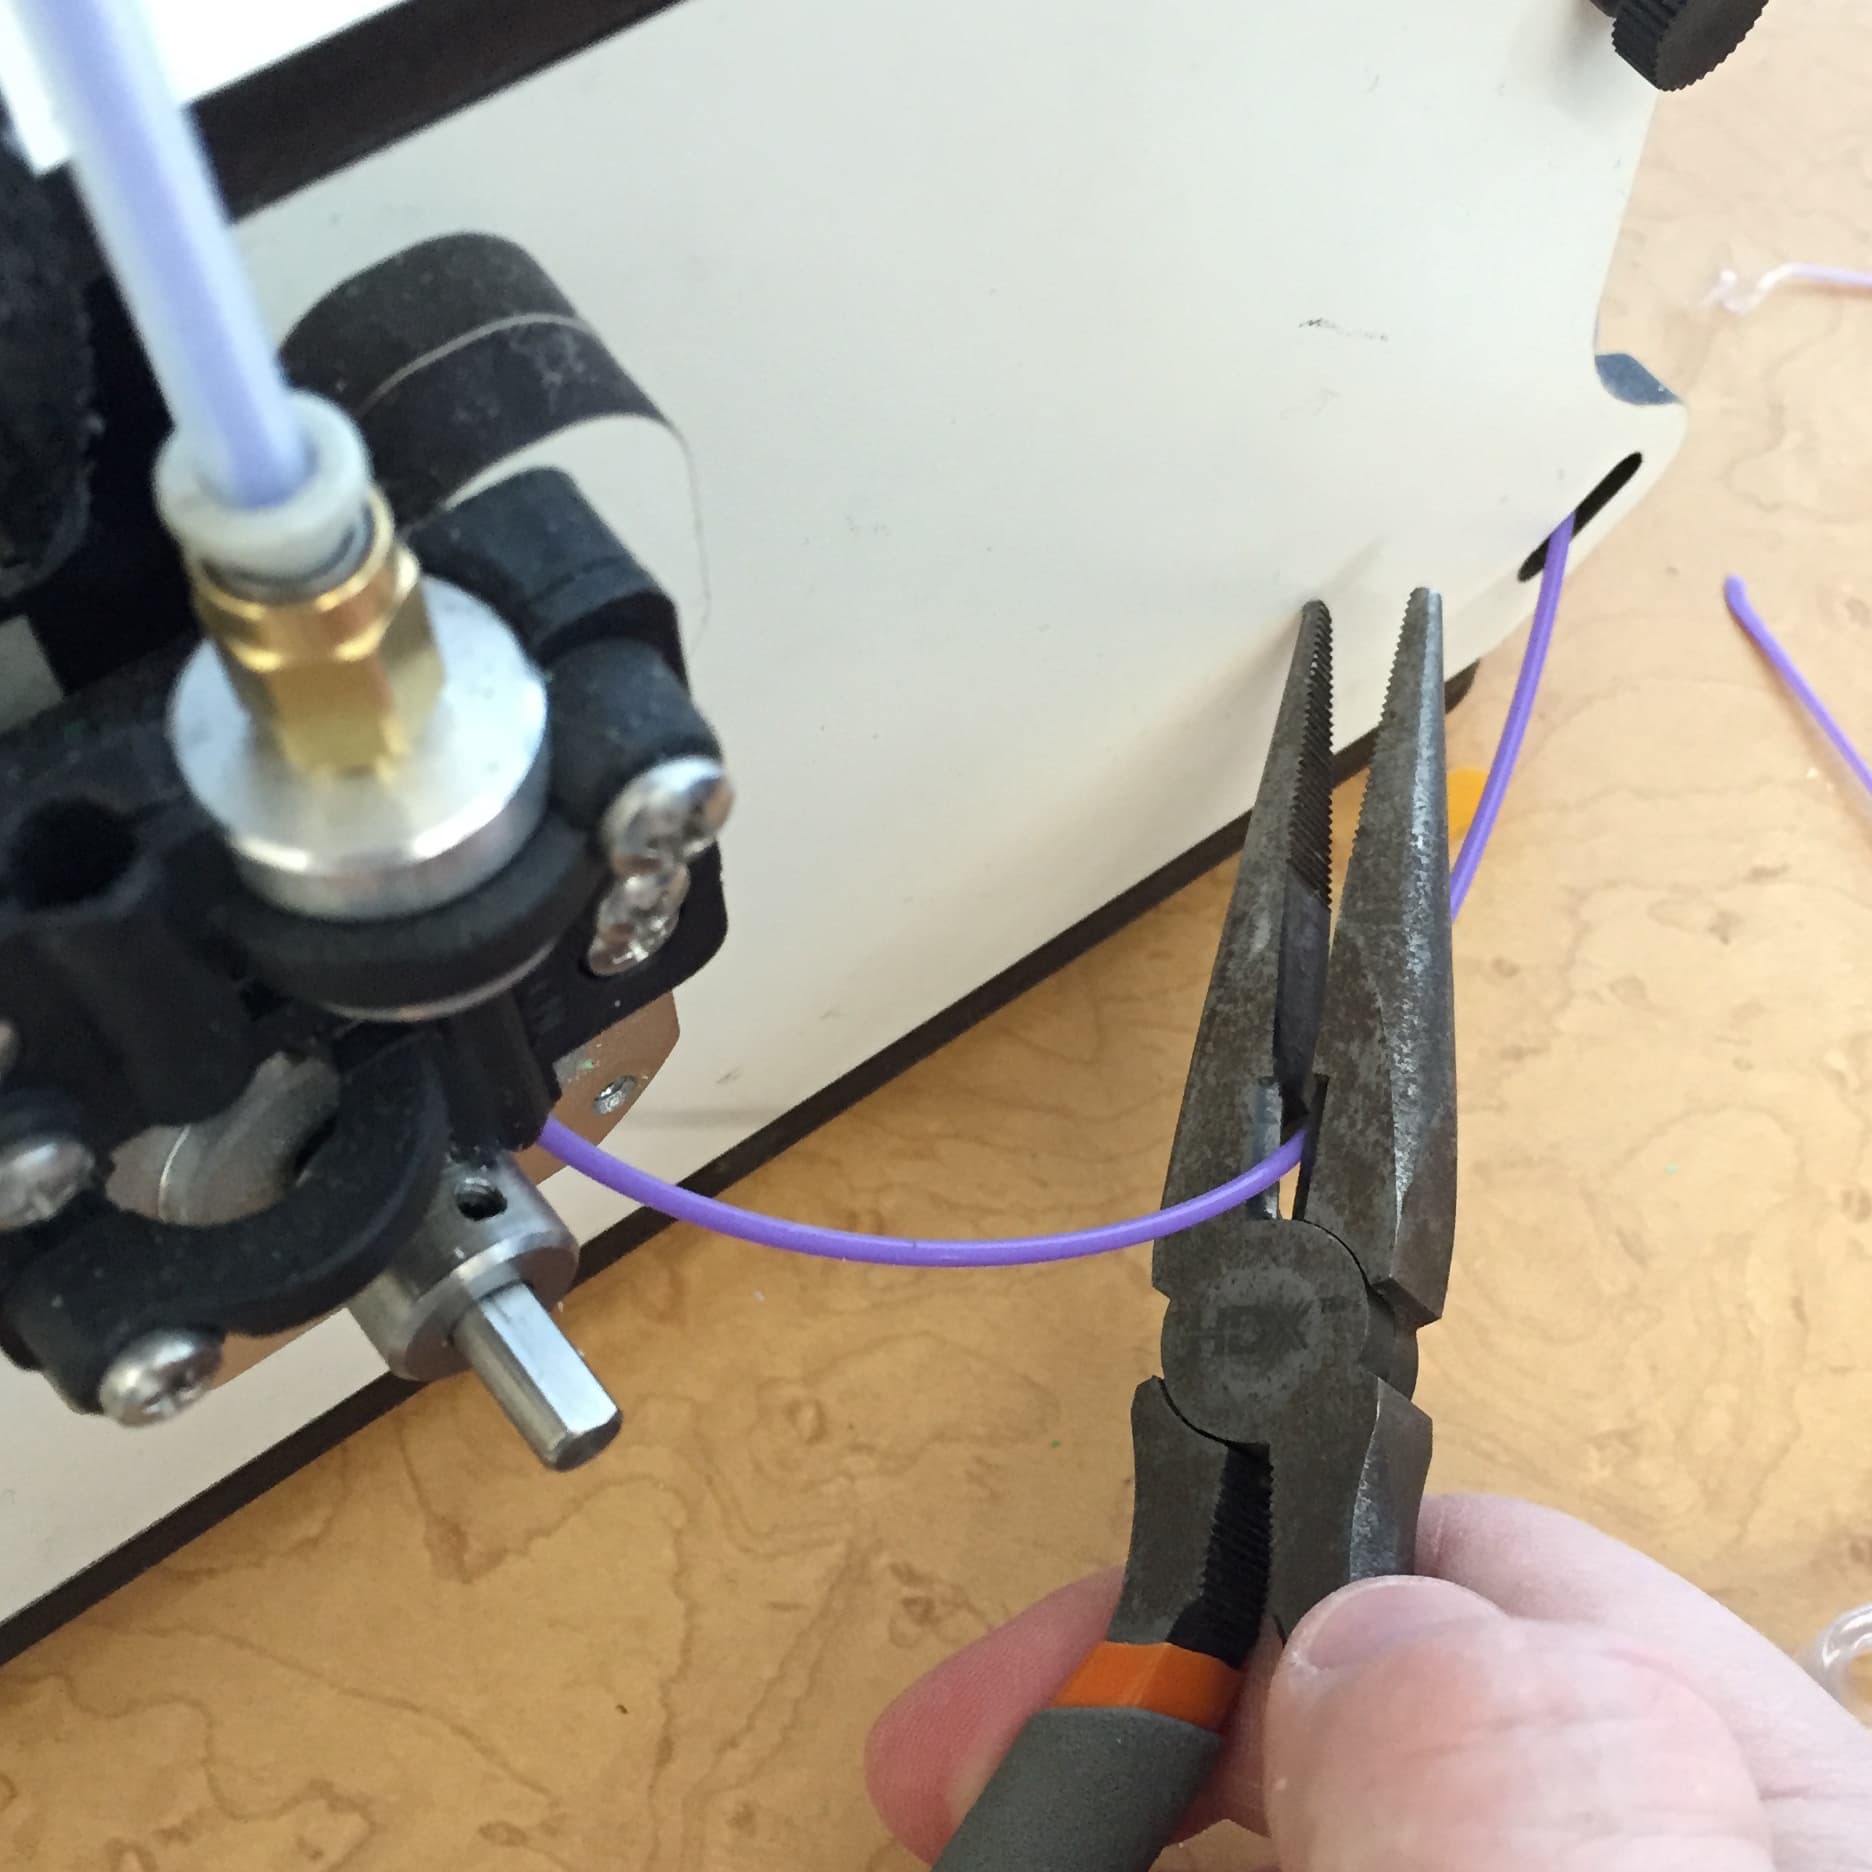
Ensure the printer is preheated for PLA. Then, gently pull the filament out of the hot end.

If the filament breaks, don’t worry! You can always unscrew the tube from the top of the extruder drive assembly and remove it from there.

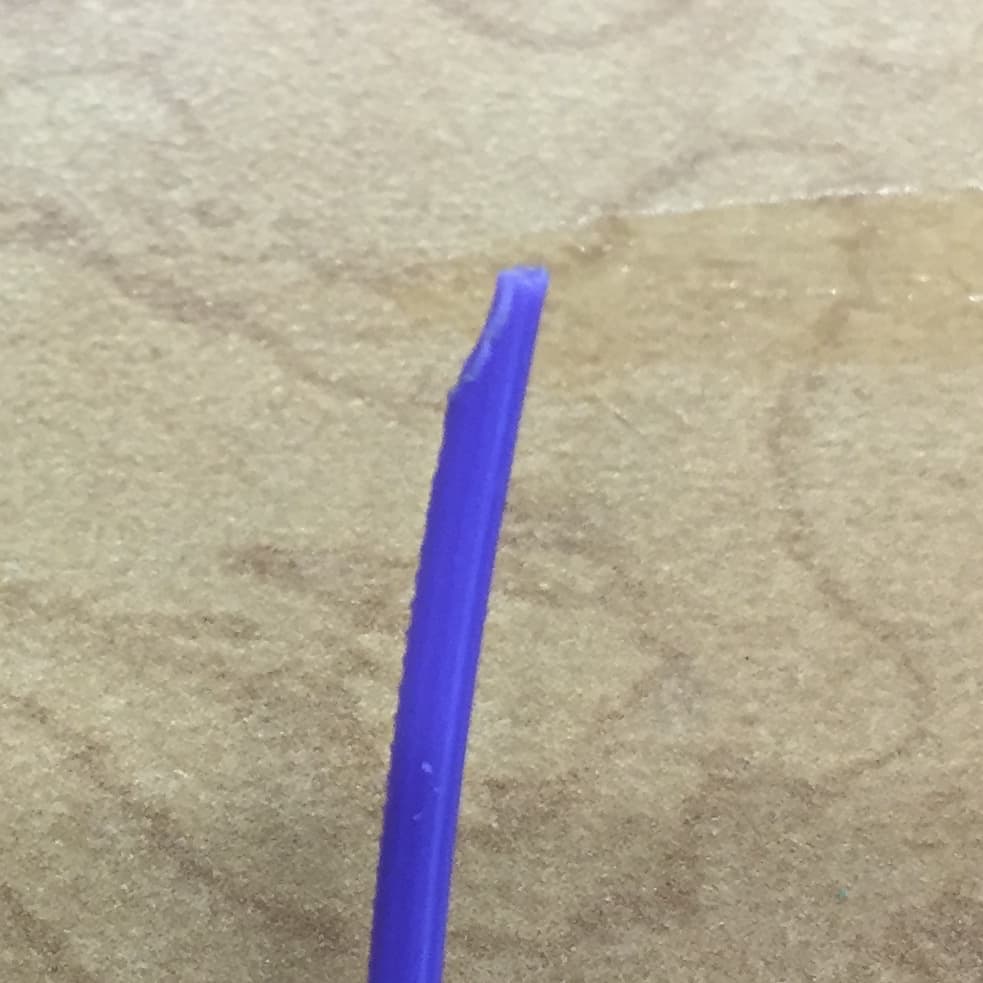
Once the filament is out, you should be able to see where the damage was. I’ve included this photo that shows the end of the filament that has been ground up by the drive gear, but it might be hard to see. I will upload a better photo next time it happens.
Then, reassemble the drive assembly and perform a normal filament spool change to get the plastic flowing again. Hope this helps! If I’ve missed anything, or if you’ve found a way to prevent or improve this problem, leave a comment below!